Introduction
 Dashboard
 Addresses
 Properties
 Email
Email Calender
 Tasks
Tasks Statistic-Kit
 Statistic-Tab
 Request manager
 Showcase TV
 Acquisition Cockpit
 Marketing box
 Success cockpit
 Process manager
 Groups
 onOffice sync
 Presentation PDFs
 Billing
 Smart site 2.0
 Project management
 Time recording
 Property value analyses
 Multi-Language-Module
 Automatic brochure distribution
 Multi-Object modul
 Intranet
 Audit-proof mail archiving
 Favorite links
 Boilerplates
 Property import
 onOffice-MLS
 Portals
 Address from clipboard
 Mass update
 Formulas and calculating
 Quick Access
 Templates
 Settings
 Customer communication
 External Tools
 Step by step
You are here: Home / Additional modules / Multi-Object modul / master property / Update / Update files

Multi-Object modul
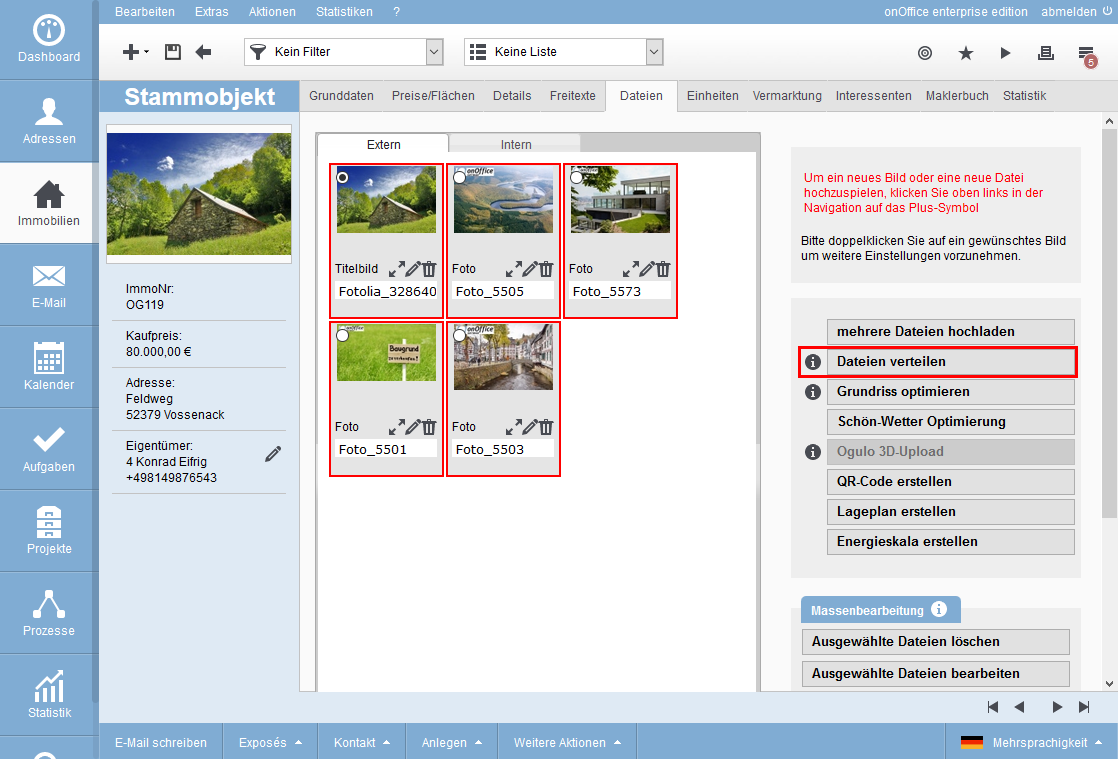
Update files

You can also switch to the “Values / Texts” tab in the pop-up to update properties. The transfer is always carried out only for the data on the open tab.
Hier finden Sie
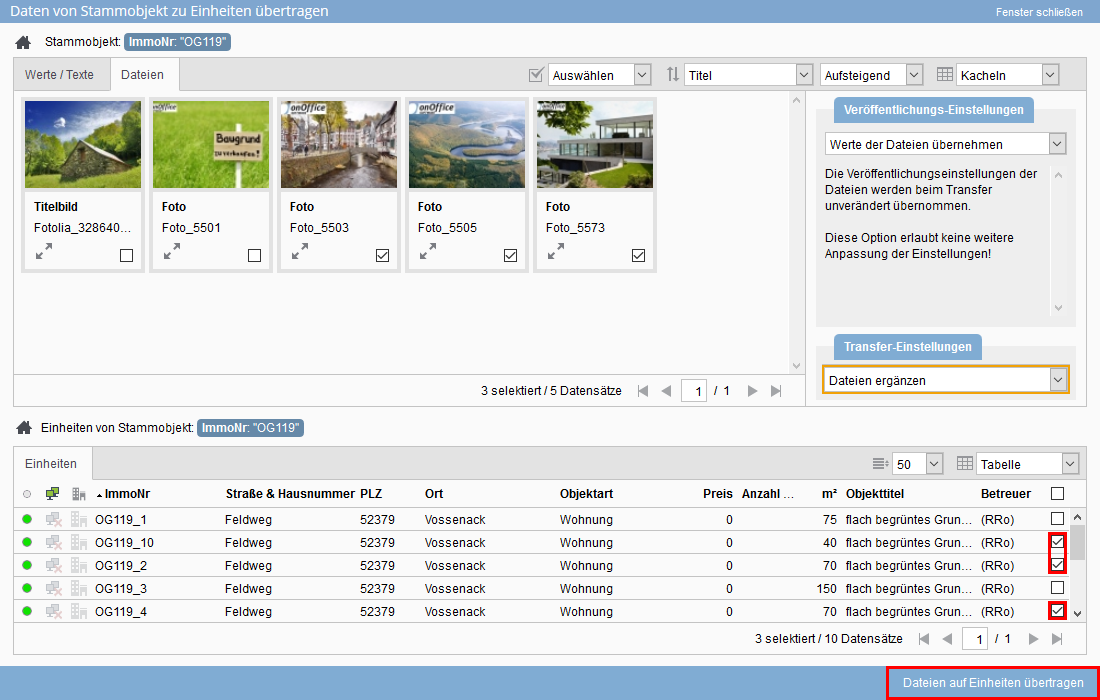
Select files
In the upper part of the popup, you can see the files present in the master property. This view can be displayed as table list view or tile view. Switching and configuring the view is done as in all list views in the tab bar at the top right.
You can select individual files (tick the checkbox ) or select page by page.
In the tile view of the files, you can display the individual files (i.e. all images) in the “large view”![]() .
.
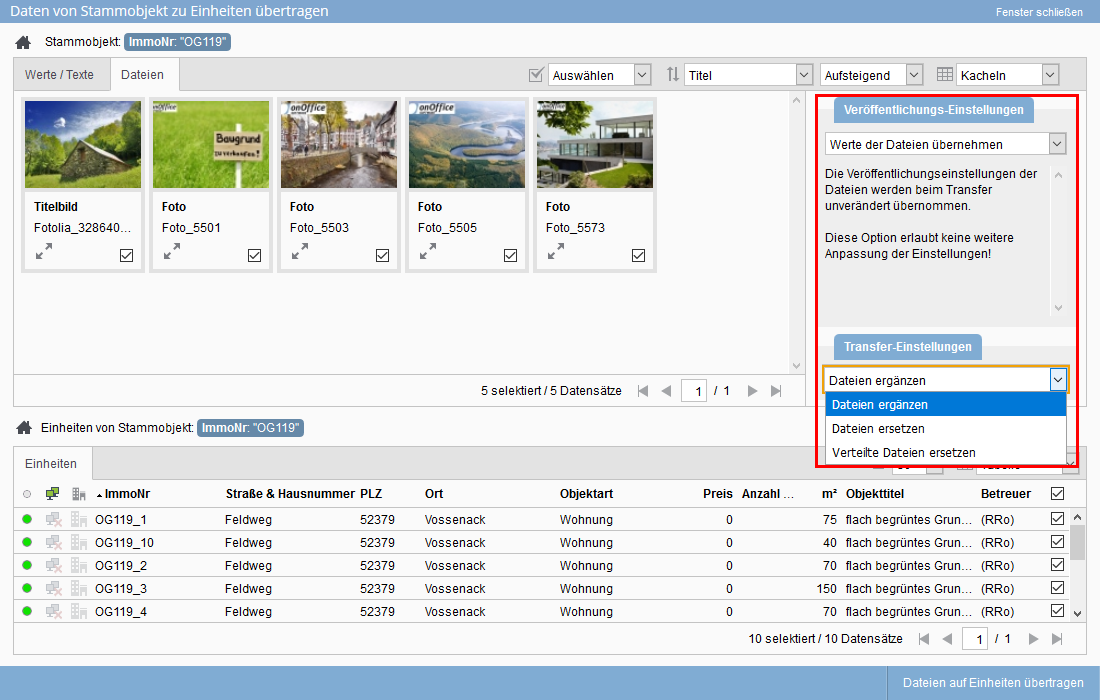
Update options
When files are distributed to the units, the question arises, will the existing ones be overwritten? Or are you being supplemented? Where are the files published?
This can be specified during the update, in the options to the right of the file selection.