Entry
Entry Dashboard
 Contacts
 Properties
 Email
Email Calendar
 Tasks
Tasks Acquisition Cockpit
 Audit-proof mail archiving
 Automatic brochure dispatch
 Billing
 Groups
 Intranet
 Marketing Box
 Multi Property module
 Multilingual Module
 onOffice sync
 Presentation PDFs
 Process manager
 Project Management
 Property value analyses
 Enquiry Manager
 Showcase TV
 Smart site 2.0
 Statistic Tab
 Statistics toolbox
 Success Cockpit
 Time Tracking
 Address from clipboard
 Text block
 Customer communication
 External Tools
 Favorite links
 Calculating with formulas
 Mass update
 onOffice-MLS
 Portals
 Property import
 Quick Access
 Settings
 Templates
 Step by step
You are here: Home / Additional modules / Smart site 2.0 / Layout / Design

Smart site 2.0
Layout / Design
With a template you choose the basic structure and design of the website (e.g. the position of the menu bar, size and position of the banners, distribution of the text windows). Use the magnifying glass to get a preview of the template. Select or change the template by clicking on the selection circle on the left below the template. You can change the templates as you wish, your content will be preserved and optimally displayed. You can see and test the page in real life via the preview at the top or bottom right.
The templates are different, here some hints with special features
- Template 4 has a picture background, no banner change is possible there. The last banner image is always displayed. Please pay attention to the recommended image size if you want to use an individual image as a background image.
- Template 6 only shows the banner image on the start page
- The second one. Menu bar is displayed horizontally, the position varies depending on the template.
- Template 2 can contain a 3. Display menu bar – at the bottom edge
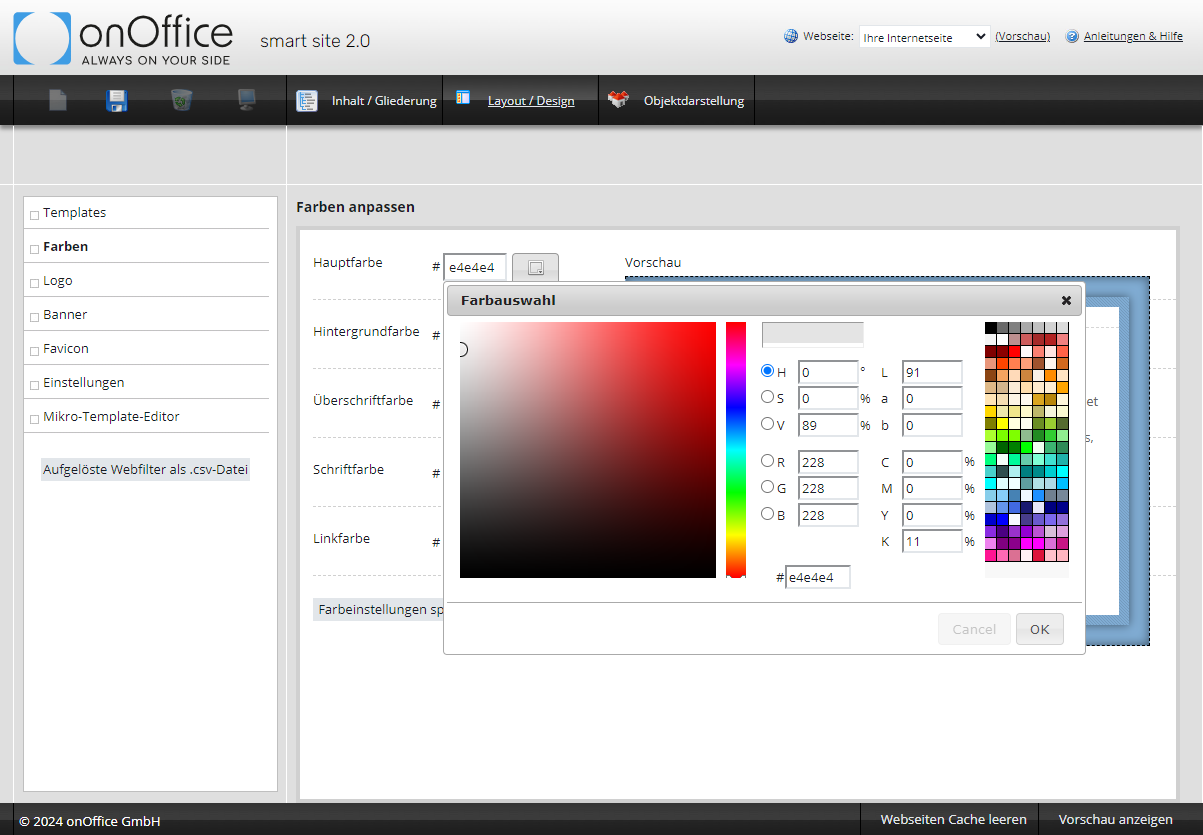
Colors
Here you can customize the colors for the individual elements of the website according to your wishes. The preview on the right side is a preview of the selected template, so you always get an impression of the real page.
The colors are given as a 6-digit number/letter combination , which usually only a designer knows. You can also choose the color of your choice by clicking on the color square ![]() on the right.
on the right.
A dialog box with various options opens.