

You are here: Home / Modules / Email / Assign emails / Assign contacts manually

Assign contacts manually
Email

Acquisition Cockpit
API Module
Audit-proof mail archiving
Automatic brochure dispatch
Automatic CSV export
Billing
Groups
Intranet
Marketing Box
Multi Property module
Multilingual Module
Online feedback
onOffice sync
Presentation PDFs
Process manager
Project Management
Property value analyses
Enquiry Manager
Showcase TV
Smart site 2.0
Statistic Tab
Statistics toolbox
Success Cockpit
Telephone module
Time Tracking
Whatsapp WebYou are here: Home / Modules / Email / Assign emails / Assign contacts manually

Assignments to contacts and a property can be found in the email header under “From:” and “To:”. You can see the links to the left of the respective data records. If you hover over a name with the mouse, a tile with information opens. You can perform various actions there.
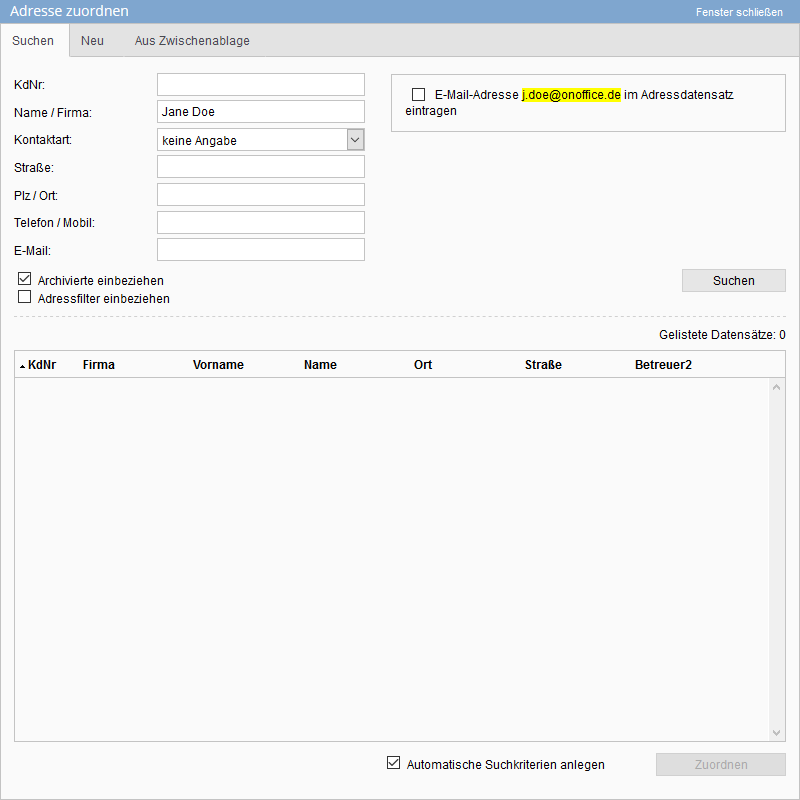
If the text “Assign/Create” is visible in an email header, no contact could be automatically assigned to the email. The sender address is not yet stored in any contact record. Manually assign a contact or create a new contact by clicking on Assign/create A pop-up for assigning opens.
Click on Assign/Create to open the dialog for assigning a contact. Use the “Search” tab to assign an existing contact. When assigning an existing contact record, the input fields function as search fields. All you need to do, for example, is enter the name and click on “Search”. If no search field is filled in, the last contacts called up are displayed. Select the desired data record from the search results. Several contacts can be assigned.
Use the “New” tab to create a new contact. When creating a new contact, you can enter the contact data in the input fields. You can customize the input fields in Administration >> Lists . Click on “Create” to generate a new contact record from the data entered and link it to the email. You can also add further contacts via the 3-dot menu under the “Create/assign contact” entry.
You can also create a new contact record via the “From clipboard” tab. The advantage is that you can select and copy the contact data directly from another page or from the email itself.
Example: If a new prospect or owner contacts you, you can, for example, copy the signature and paste it into the text field on the left. Please make sure that the correct country is set, as there are differences in address spelling from country to country. Now click on Apply values. If not all fields are transferred correctly, you can make the changes manually in the individual fields on the right.
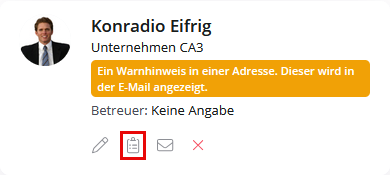
If you want to open the email activity, move the mouse over the name of a contact. A tile opens with contact data and 3 icons. Click on to open the activity and you can edit it directly. If you do not have read permission for the activity, the icon is displayed in light gray and cannot be clicked.
To remove an existing link to a contact record, click on in the contact tile. Please note that onOffice immediately restores automatic links.
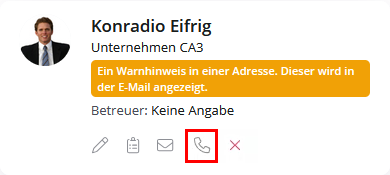
To call the contact record, click on in the contact tile. This function requires the telephone module and a correctly configured CTI client.
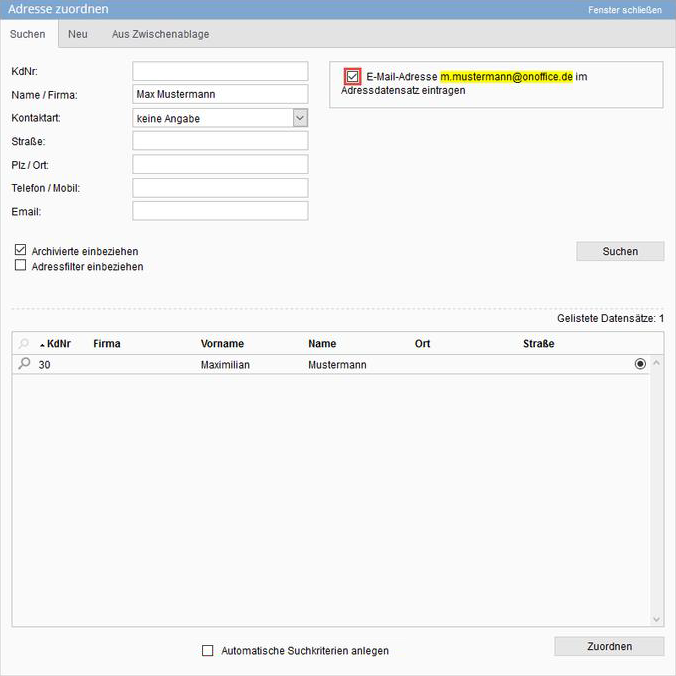
An assignment to a contact record works via the email address stored in the contact. If a known contact writes from an unknown email address, the automatic assignment does not work. Then enter the new email address in the contact record. To do this, click on Assign/Create and search for the relevant contact in the pop-up, select the appropriate contact and tick the option “Enter email address beispiel@onlinehilfe.onoffice in the contact record”in the top right-hand corner. Click on “Assign” to add the sender email address to the contact record.