 Entry
Entry Dashboard
 Contacts
 Properties
 Email
Email Calendar
 Tasks
Tasks Acquisition Cockpit
 Audit-proof mail archiving
 Automatic brochure dispatch
 Billing
 Groups
 Intranet
 Marketing Box
 Multi Property module
 Multilingual Module
 onOffice sync
 Presentation PDFs
 Process manager
 Project Management
 Property value analyses
 Enquiry Manager
 Showcase TV
 Smart site 2.0
 Statistic Tab
 Statistics toolbox
 Success Cockpit
 Time Tracking
 Address from clipboard
 Text block
 Customer communication
 External Tools
 Favorite links
 Calculating with formulas
 Mass update
 onOffice-MLS
 Portals
 Property import
 Quick Access
 Settings
 Templates
 Step by step
You are here: Home / Additional modules / Enquiry Manager / Request manager settings

Enquiry Manager
Request manager settings
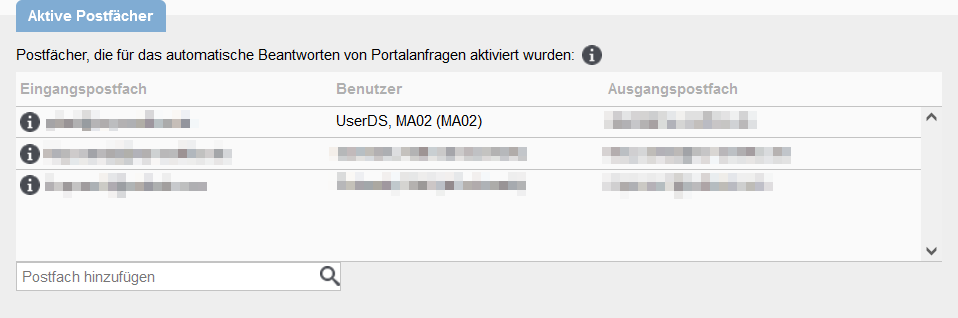
Active mailboxes
Only mailboxes that have been set up for this purpose in the email administration(checkbox activate in the column ![]() ) can be activated for the request manager. The user specified for the active mailbox is used for the macros in emails and signatures sent by the request manager.
) can be activated for the request manager. The user specified for the active mailbox is used for the macros in emails and signatures sent by the request manager.
Which mailbox is used for sending the confirmations and later for a reply can also be set here. You can also set the user here.
Only mailboxes configured in onOffice can be used as incoming mailboxes, imported (POP3 or IMAP) mailboxes are not possible.
Only users who are assigned to the mailbox can be selected here.
All configured mailboxes, including imported POP3 or IMAP, of the selected user are possible as outgoing mailboxes.
The mailboxes assigned to the user are available for selection. Please note that the signature of the assigned user is always inserted here.
If the assignment of the users to the mailboxes on the tab Email is changed and the selection is no longer valid, a warning triangle appears here in the list.
When a user is assigned who is in a group, a warning triangle appears to indicate that the office group data is used for signatures etc.
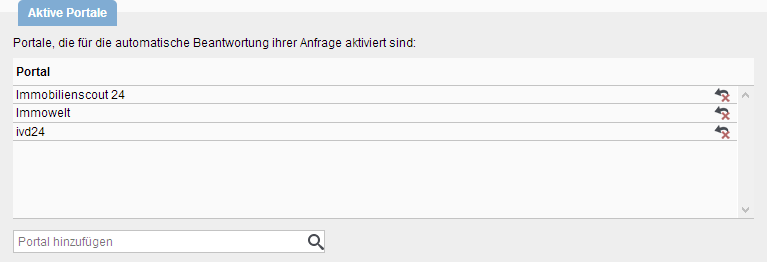
Active portals
For requests from these portals to the active mailboxes the request manager is started.
The list contains all portals that are configured for portal requests. If a desired portal is not available in the list, please contact the onOffice support (+49 241 44 686 122 | support@onoffice.com).
Further settings
Here you define how long the request manager should wait for an answer, whether it should wait until an answer / brochure is sent and whether the emails with the requests should be moved to separate folders in the mailbox.
For sending the response mail, the request manager selects the template / brochure based on the settings for portal requests from the .
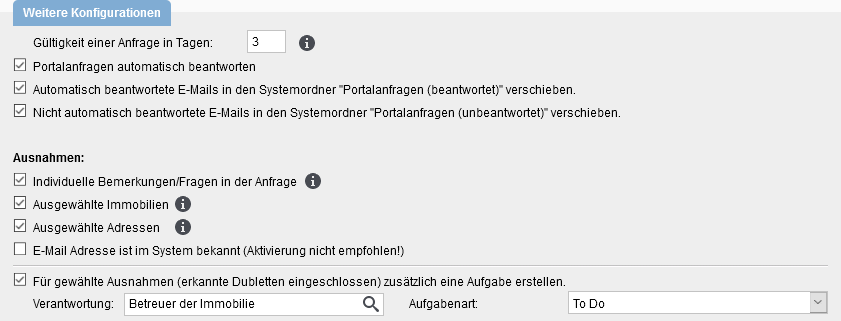
Here you can also specify some conditions where the request manager should NOT work automatically, but where manual processing should take place.
The requests then appear in the request manager widget with the status “Cancelled”.
A task is also created according to the settings.
If you want to exclude certain addresses or properties from automatic processing, please activate “selected addresses” and/or “selected properties” in the exceptions. In addition, you must activate a checkbox in Administration for addresses or properties so that addresses or properties can be excluded from automatic processing.
Creating addresses
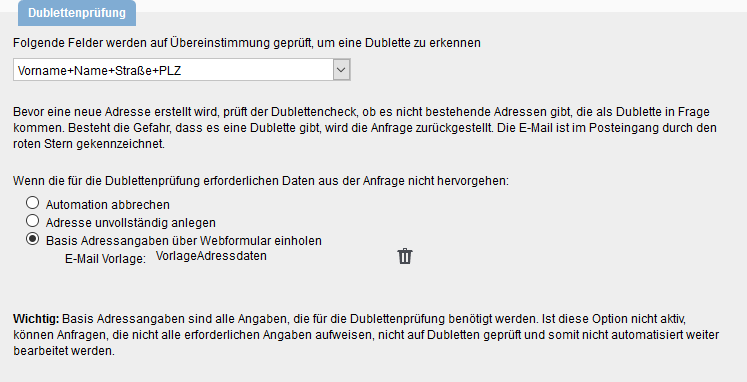
Duplicate check
The request manager creates an address for each request that meets all conditions. A duplicate check is performed. The data to be checked and the procedure to be followed in the event of insufficient data is indicated here.
If further information is required, an email (template can be defined here) with a link is sent to the email address from the portal request. The link leads to a web page where the interested party must complete the information.
If the email address must be confirmed, this will be requested directly.
The specified email template must contain the macro _AdresseingabeWebformular().
No information on the GDPR, GTC etc. is recorded.
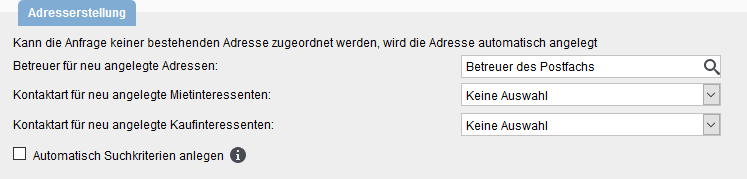
Address setting
Under the address settings, you can specify how and with which characteristics addresses are created via the request manager.
Confirmation mail
Does the request really come from an interested party? One way to check this is the confirmation of the email address by the interested party.
An email (template can be defined here) with a link is sent to the email address specified in the portal request. The link leads to a web page on which the interested party must confirm this.
If information on the duplicate check is still required, this is also requested directly.
The specified email template must contain the macro _PostfachBestaetigen().
No information on the GDPR, GTC etc. is recorded.


