Entry
Entry Dashboard
 Contacts
 Properties
 Email
Email Calendar
 Tasks
Tasks Acquisition Cockpit
 Audit-proof mail archiving
 Automatic brochure dispatch
 Billing
 Groups
 Intranet
 Marketing Box
 Multi Property module
 Multilingual Module
 onOffice sync
 Presentation PDFs
 Process manager
 Project Management
 Property value analyses
 Enquiry Manager
 Showcase TV
 Smart site 2.0
 Statistic Tab
 Statistics toolbox
 Success Cockpit
 Time Tracking
 Address from clipboard
 Text block
 Customer communication
 External Tools
 Favorite links
 Calculating with formulas
 Mass update
 onOffice-MLS
 Portals
 Property import
 Quick Access
 Settings
 Templates
 Step by step
You are here: Home / Extras / Settings / Administration / Input fields

Settings
Input fields

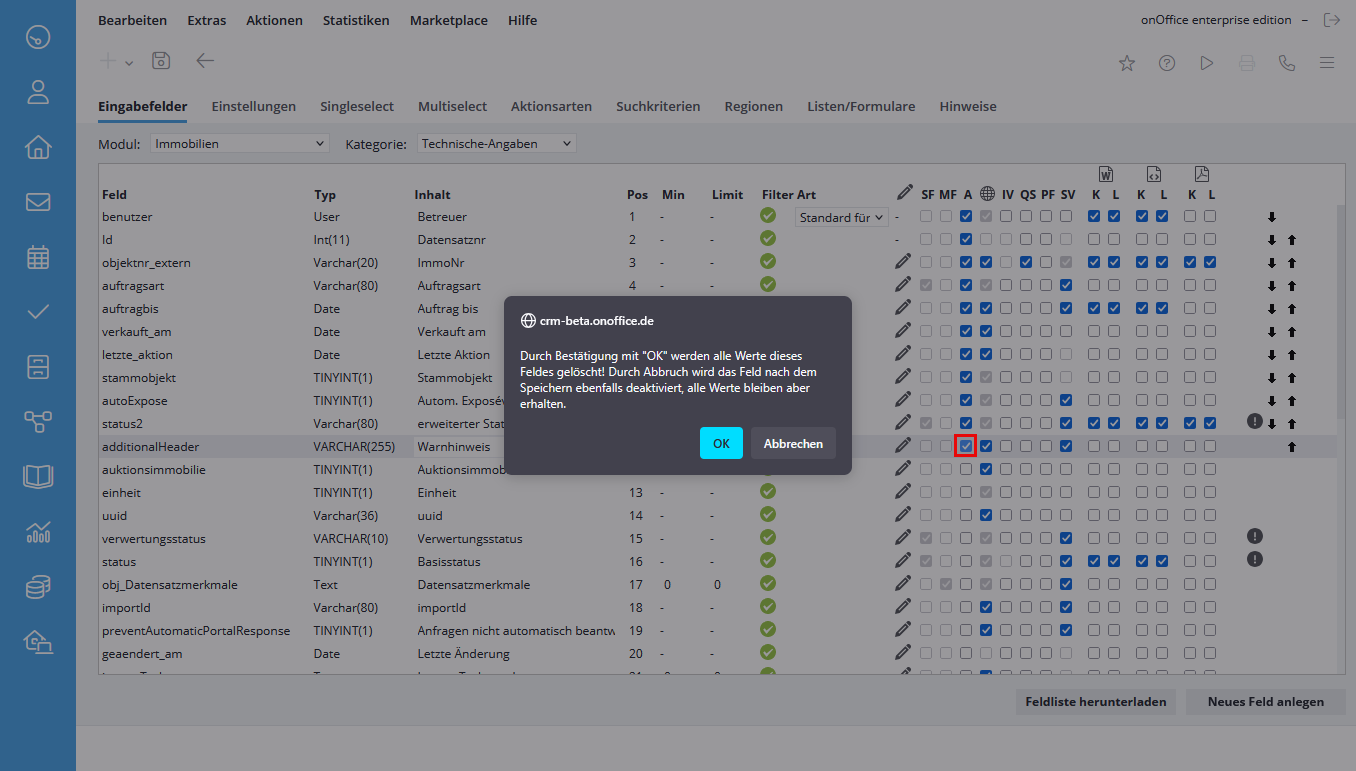
Features
Field
Here is the internal field name of the field on the database. This value cannot be changed.
Type
For newly created fields, determine what type of field it should be. Should a check mark (Yes / No) be set here? Should numbers or characters be entered? This is what the field types mean in detail:
| Int | Integers |
| Float | Floating point numbers |
| Decimal | Floating point numbers |
| Char (20) | Input up to 20 characters |
| Char (80) | Input up to 80 characters |
| Text | Input without character limit |
| Comment | Input without character limit, with larger input field than for text type |
| Note | Input without character limit, with edit mode as external popup |
| Date | Date field |
| Boolean | Yes / No. A check mark can be set here. |
| Link | The path entered there is linked directly to the destination |
| User | The User data type creates a field that contains the current users for selection. |
| File | The File data type creates a field where you can upload images and documents. |
| Red hint | The Red hint data type creates a hint in red that refers to the field below it. |
| Black hint | The Black hint data type creates a hint in black that refers to the field below. |
| Dividing line | The separator line data type creates a separator line at the desired position. |
You can use the individual field types to structure the interface, some hints can be found in the Möllerherm Immobilien blog post .
Content
Here you specify with which name the field is displayed in your onOffice enterprise interface.
Pos
Determine the positioning of your fields by assigning the exact position, this will only be applied after saving. Alternatively, you can do this using the arrows on the far right.
Min
Specify here the minimum number of characters to be entered for text fields.
Limit
Specify here the maximum number of characters to be entered for text fields.
Filter
Here you can use the “Field Filters” to specify for which conditions / category the field should appear. The following symbols indicate the status of the field:
| This field always appears. | |
| This field appears only if the corresponding conditions are met. |
The symbols can be clicked. In the popup window that opens, the different field filters can be used to specify exactly under which conditions the selected field appears.
The individual field filters vary from module to module. Various field filters can be entered for addresses, property and appointment management. You can edit them by clicking on the filter icon.
- Address management
– Status (accesses status2 as long as it is active, otherwise status is retrieved)
– Record characteristics
– Groups (only if group module is activated)
– Contact types - Properties management
– Status (accesses the extended status (Status2) as long as it is active, otherwise status is retrieved)
– record set characteristics – type of properties
– type of use
– marketing
type – master properties / units (only if the Multi-Property-Module is active)
– energy certificate type (only for fields for energy consumption or demand)
– groups (only if the group module is active) - Appointment management
No field filters can be stored for the standard fields in the appointment management. Only newly created fields can be provided with a filter. These fields can only be restricted via the appointment type.
In addition, you can define here exactly for which groups fields should appear. This means that this field then only appears if you are assigned as a user to this group. If one does not belong to this group, these fields would not be displayed. In addition, in the drop-down menu on the right, next to the group name, you can use the “Only line” option to specify that only the group leader is to be shown the fields.
If the “Automatically activated for new groups” is checked, the settings will be applied to all new groups.
Field filters have ‘AND’ and ‘OR’ connections. Thus, the statements made in a category are ‘OR’ statements. ‘AND’ statements are settings which are made in several categories.
Another peculiarity is that if you check all or none of the items in a category, the settings are the same for the moment. If you have checked all of them, there will be no restriction until you create a new field in the category.


Formula
For most fields (depends on the field type) you can specify a formula to calculate the field content. This is possible for the fields with the edit symbol or the formula symbol, if a formula is already stored: ![]() respectively
respectively ![]() .
.
Clicking on the icons opens the formula editor, an existing formula is displayed as a mouseover at the formula icon ![]() .
.
With a click on the pencil symbol in the column header you get an overview of all formulas which have already been created. Here you can control the order of the calculation as well as determine whether the field is editable or not via the “Overwrite” checkbox.
There are two cases when recalculating (“overwriting”):
- Checked; default setting. These fields appear grayed out in the record and are not editable. When values are changed and saved in fields used in the formula, the content of this field is updated. Of course, this will only be visible when you reload the current view.
- Check mark not set; These fields are editable in the record. The field shows the result of the formula as with the checkmark set, unless you have entered something manually. Then the content will not be overwritten when the calculation data changes.
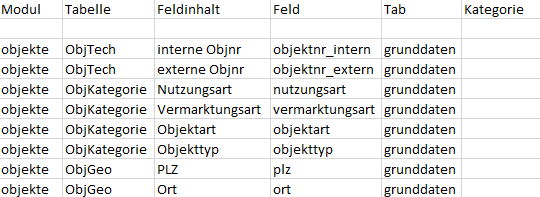
Singleselect field SF
If a check mark has been placed in this column, this field is a singleselect field. Ideally, these fields should be of type Text. In singleselect fields, you can use a drop-down menu to select one value from several. The Status field, for example, is a single-select field:
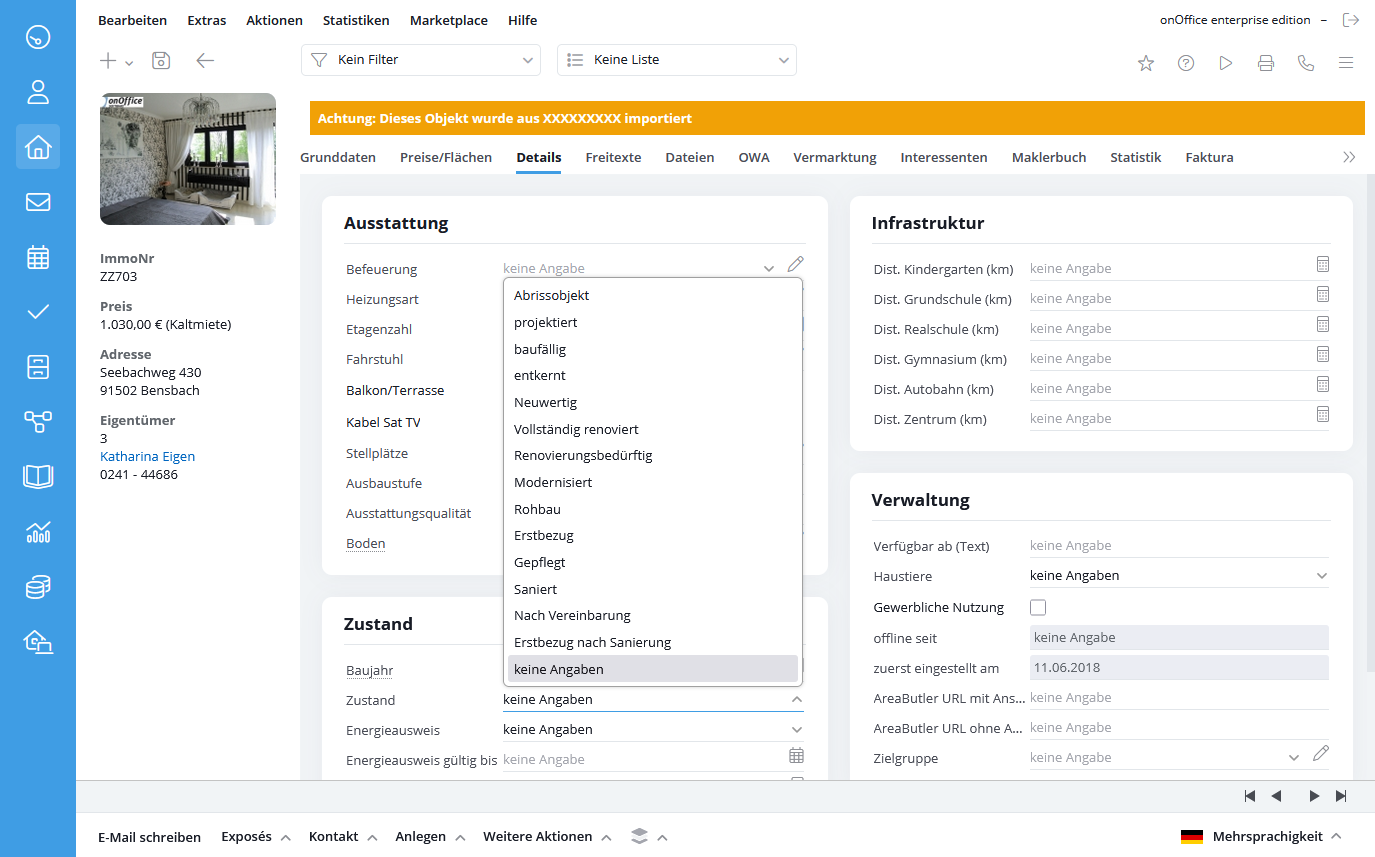

Clicking the “OK” button will delete the respective field entries in all properties from the database.
If you click on “Cancel” the field entries on database level will be kept.
Disabled fields with database entry are displayed in the software with a dotted line, by clicking on the field name you will get a hint text about it:

Once the existing entry is removed, the field will no longer be displayed.
Globe – Multilingual
For multilingual properties, all language-dependent fields, e.g. the free texts such as location, description, equipment, etc. are maintained in the desired languages, all other property fields are synchronized between the different language versions of a property.
You can set which fields should be language-dependent.
If the globe icon column is checked, the field will be saved identically for all languages. If no check mark is set, a separate content can be saved for each language.
Address completion/property completion
The appearance of the address completion can be changed here. You can use the AV column to determine which fields are displayed. The AV column exists in all categories of the Address Completion module.
You can determine which fields are visible in the Search Criteria area using the Search Criteria tab. The AV column is also available there.