You are here: Home / Extras / Settings / Basic settings / Email / Microsoft 365 mailbox
Microsoft 365 mailbox
Settings
 Acquisition Cockpit
 API module
 Audit-proof mail archiving
 Automatic brochure distribution
 Automatic CSV export
 Billing
 Groups
 Intranet
 Marketing box
 Multi Property module
 Multilingual Module
 Online feedback
 onOffice sync
 Presentation PDFs
 Process manager
 Project management
 Property value analyses
 Request manager
 Showcase TV
 Smart site 2.0
 Statistic Tab
 Statistics toolbox
 Success cockpit
 Telephone module
 Time recording
 Whatsapp Web
You are here: Home / Extras / Settings / Basic settings / Email / Microsoft 365 mailbox

Settings
In onOffice enterprise, Microsoft 365 mailboxes that are located at Microsoft can be connected with Microsoft’s own format (Microsoft Graph). The Microsoft 365 mailboxes are also available in the onOffice app.
The mailboxes are configured in the email administration in the tab “external IMAP mailboxes”. After creating a mailbox, you can activate the same options as for internal mailboxes.
The setup is divided into 2 areas, the “creation” with the user assignment and the “authentication” with the Microsoft account to gain access.
For mailboxes that are not located directly at Microsoft (@outlook.de/@outlook.com), access via the MS Graph interface may have to be enabled by onOffice. This must be done by the administrator of the mailboxes.
The mailbox is created in the basic settings. If you do not have the appropriate user rights for the basic settings, please contact your administrator.
To create the mailbox, please open the email administration (Tools >> Settings >> Basic settings >> email) and switch to the “External IMAP mailboxes” tab.
Please enter the complete mailbox in the “IMAP Import” category under “email address” and click on “Import Office 365”.
This creates the mailbox in the list and you can assign usersto it.
ATTENTION, after authentication, all assigned users can access the contents of the mailbox, even if they do NOT have access to the Microsoft account.
In the Email module you can now open the newly created mailbox.
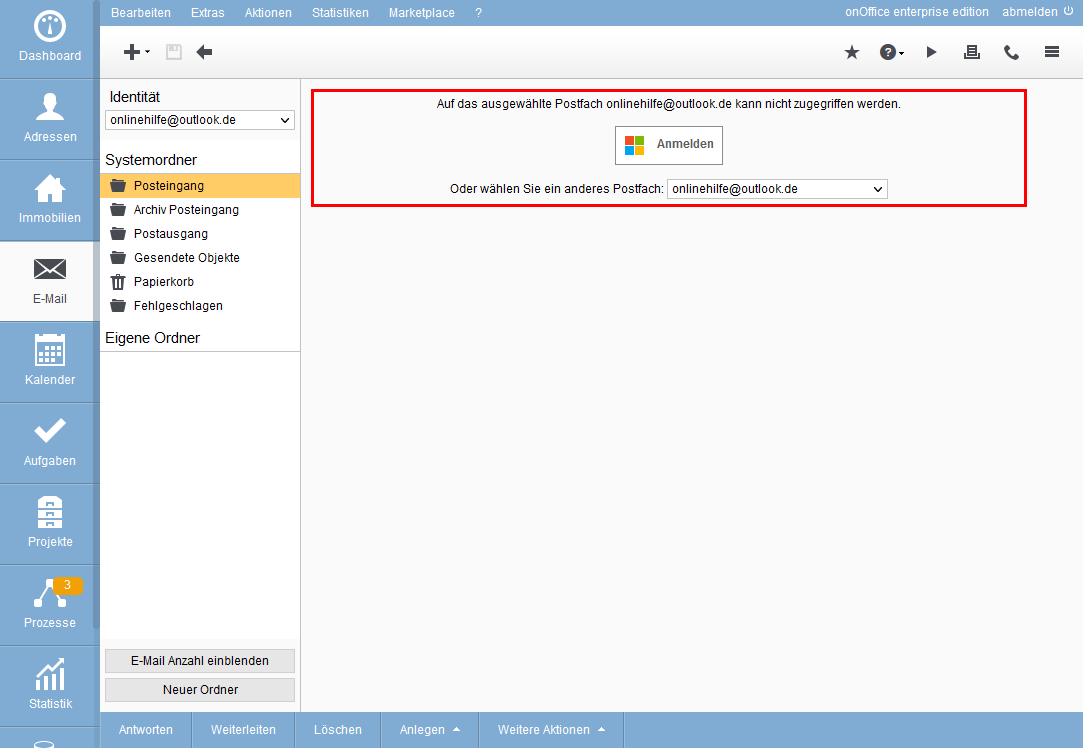
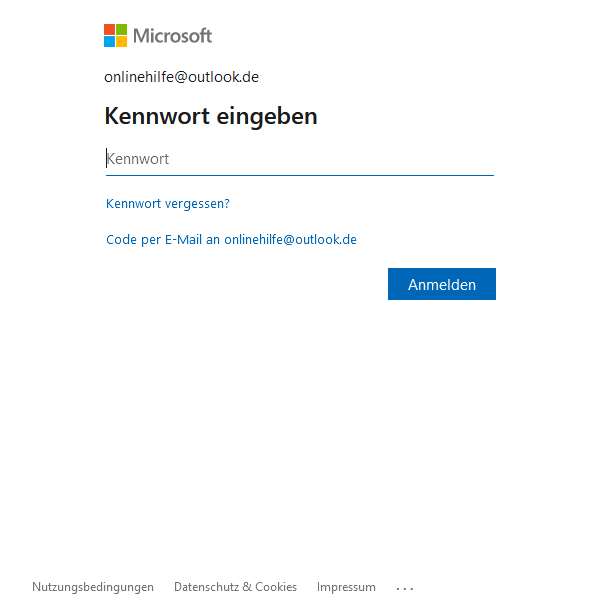
When you open it for the first time, the familiar login screen for a Microsoft account appears.
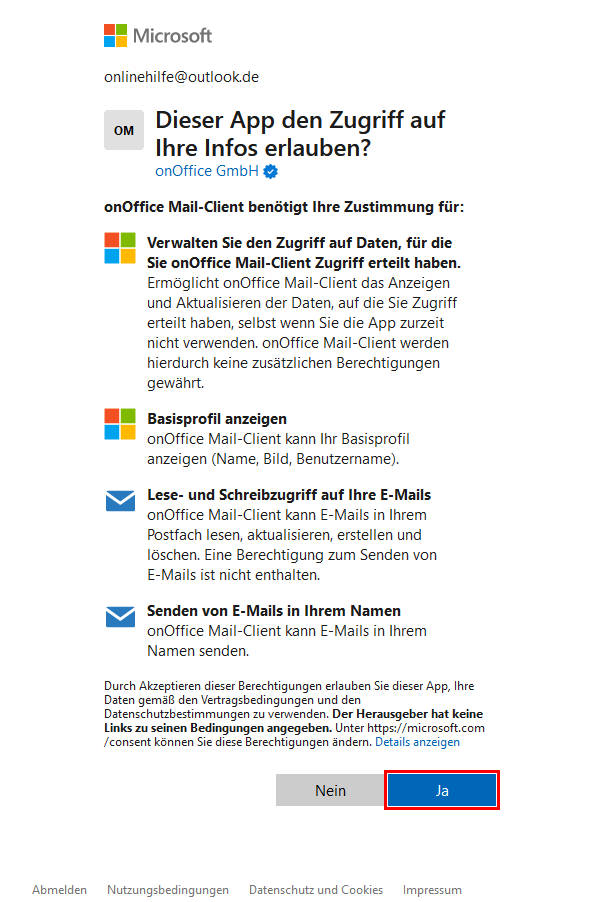
Please enter the password in the dialog for the imported mailbox and approve the access for onOffice.
Please rememberthat when using several email programs for one mailbox at the same time, there may always be differences in the folder structure, the number of emails read, etc. This applies generally and not only to Microsoft 365 mailboxes.
New outbox: After authentication, it may happen that the outbox changes: Outgoing emails are then saved in the “Sent items” folder and no longer in the onOffice “Sent items” folder. If you want outgoing emails to appear in the “Sent items” folder as before, please follow the steps below:
Activities: Emails sent via Outlook are booked as activities of the type “Email – Outbox” with the action characteristic “External email dispatch”. The main user assigned to the mailbox (user with the crown symbol in the“Basic settings >> Email” tab) is set as the supervisor of the activity. When sending emails from an external email client, you can set under “Settings >> Basic settings >> email >> External IMAP mailboxes” whether the activities should still be posted.
Mail limits: Sending multiple emails with attachments via a Microsoft Office 365 mailbox can cause problems due to Microsoft limits. For this reason, it is not possible to send serial emails and emails with more than 10 recipients in this case. In this case, please use the _downloadLink(Text) or _agreementLink macro to ensure that the recipient receives the attachments via a download link and can download them. These macros allow you to download attachments within 14 days.
You can also import “outlook alias mailboxes”. These are integrated into enterprise like a normal mailbox.
Your Azure / Microsoft 365 administrator must make the appropriate settings so that you can send emails via the “outlook alias mailbox”.
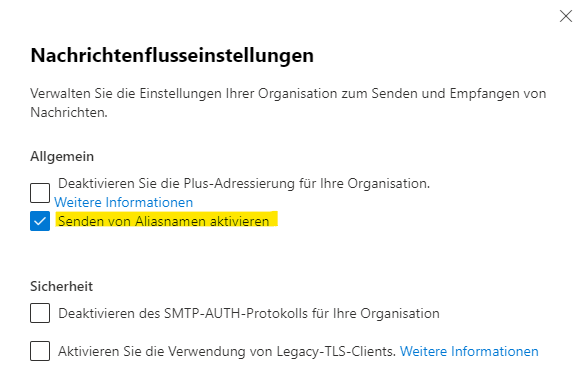
On the Azure platform, the option “Enable sending aliases” must be activated in the new Microsoft 365 administration under “Settings >> Message flow”.
On other platforms, the setting may be in a different location.
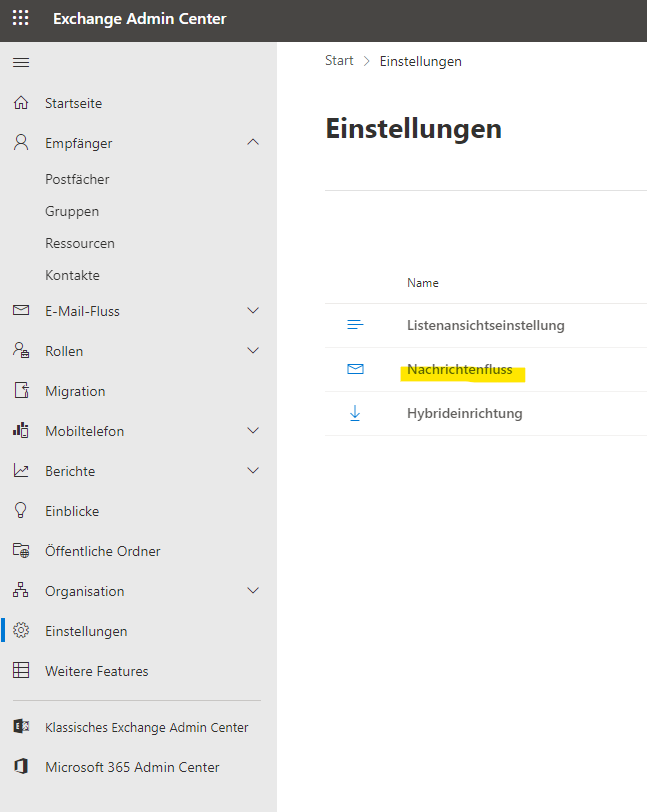
Set-OrganizationConfig -SendFromAliasEnabled $true
