 Entry
Entry Dashboard
 Contacts
 Properties
 Email
Email Calendar
 Tasks
Tasks Acquisition Cockpit
 Audit-proof mail archiving
 Automatic brochure dispatch
 Billing
 Groups
 Intranet
 Marketing Box
 Marketplace
 Multi Property module
 Multilingual Module
 onOffice sync
 Presentation PDFs
 Process manager
 Project Management
 Property tracking
 Property value analyses
 Enquiry Manager
 Showcase TV
 Smart site 2.0
 Statistic Tab
 Statistics toolbox
 Success Cockpit
 Time Tracking
 Address from clipboard
 Text block
 Customer communication
 External Tools
 Favorite links
 Calculating with formulas
 Mass update
 onOffice-MLS
 Portals
 Property import
 Quick Access
 Settings
 Templates
 Step by step


You are here: Home / Additional modules / Marketplace / Provider overview / AIMAGE S.R.L. - Whatsapp dispatch

Marketplace
AIMAGE S.R.L. – Whatsapp dispatch
1. How to access Aimage’s service?
To use Aimage’s service, you need to activate it from the onOffice marketplace.
.png)
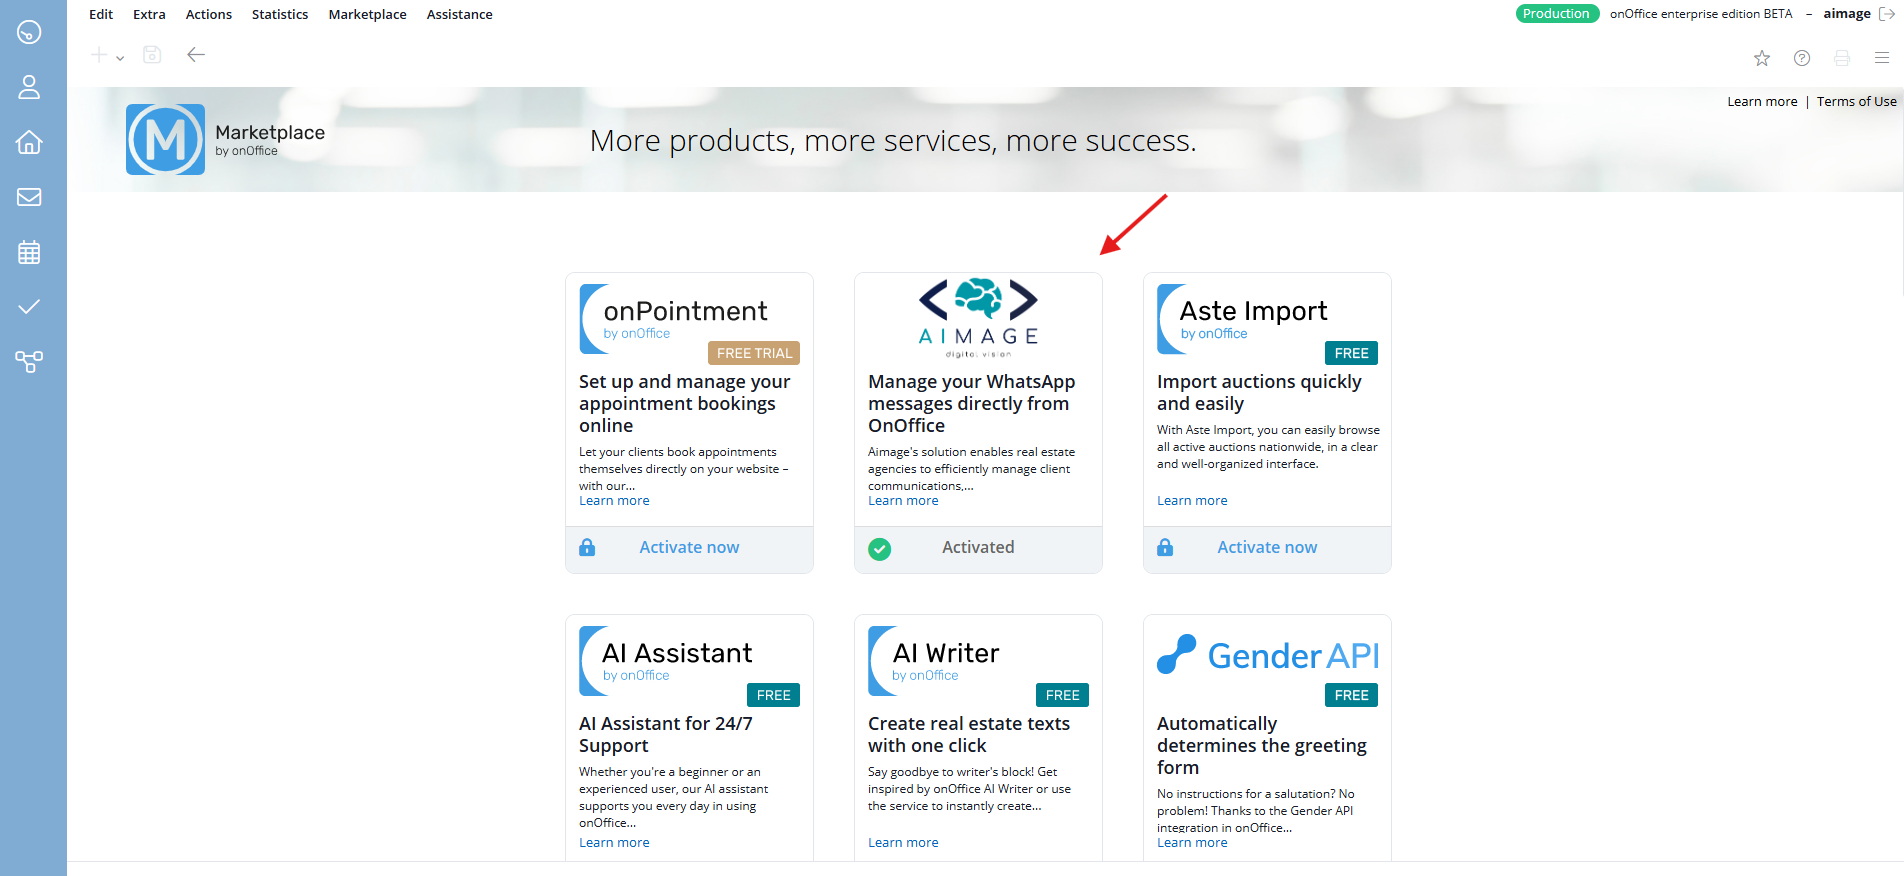
Proceed by enabling user permissions and copy-paste the API Key into the required field. Click “Activate now” to continue.
2. Contact management
.png)
To manage your WhatsApp messages, in the “Contacts” section you have two options:
- manually add your contacts
- automatically import the contacts already stored in onOffice
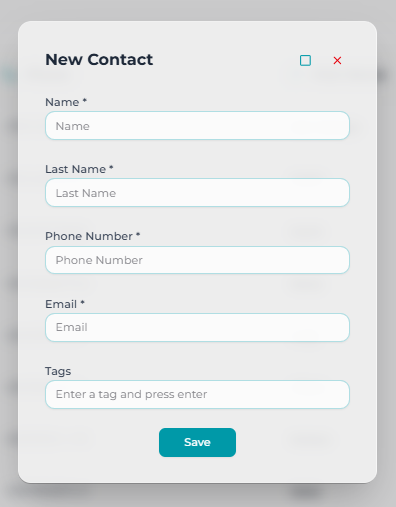
To import onOffice contacts, simply click “Sync contacts with onOffice“. If instead you want to add them manually, click “Create Contact” and enter the required information.
3. Creating contact lists
Create contact lists to group recipients based on their needs.
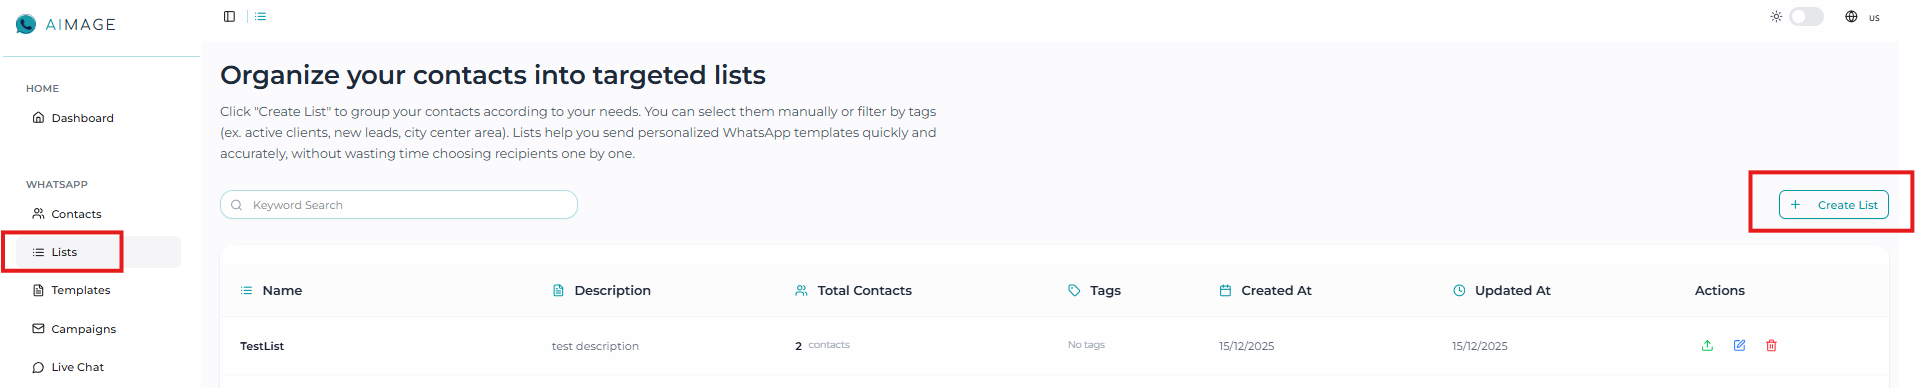
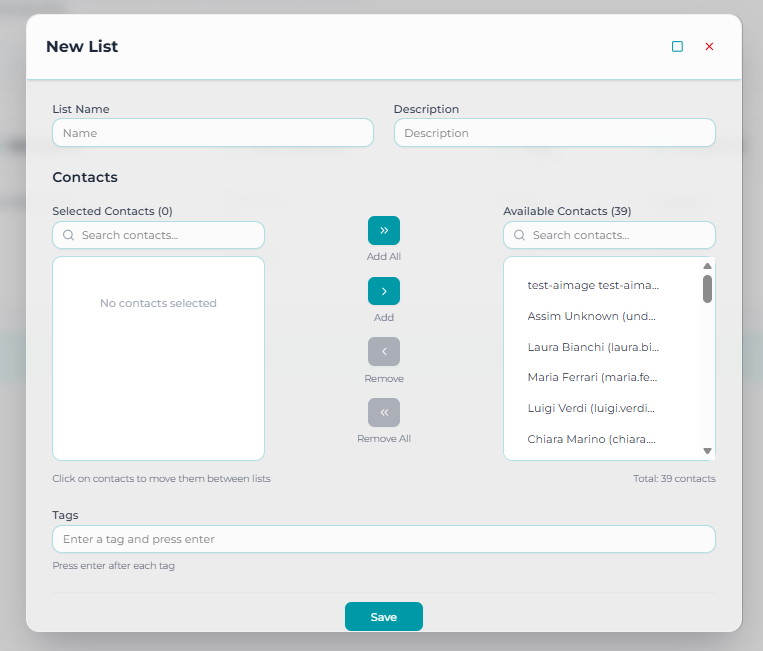
Give your list a name and a description, and add the contacts you want from the available contacts list. You can also add “tags” (they will help you find your lists more easily).
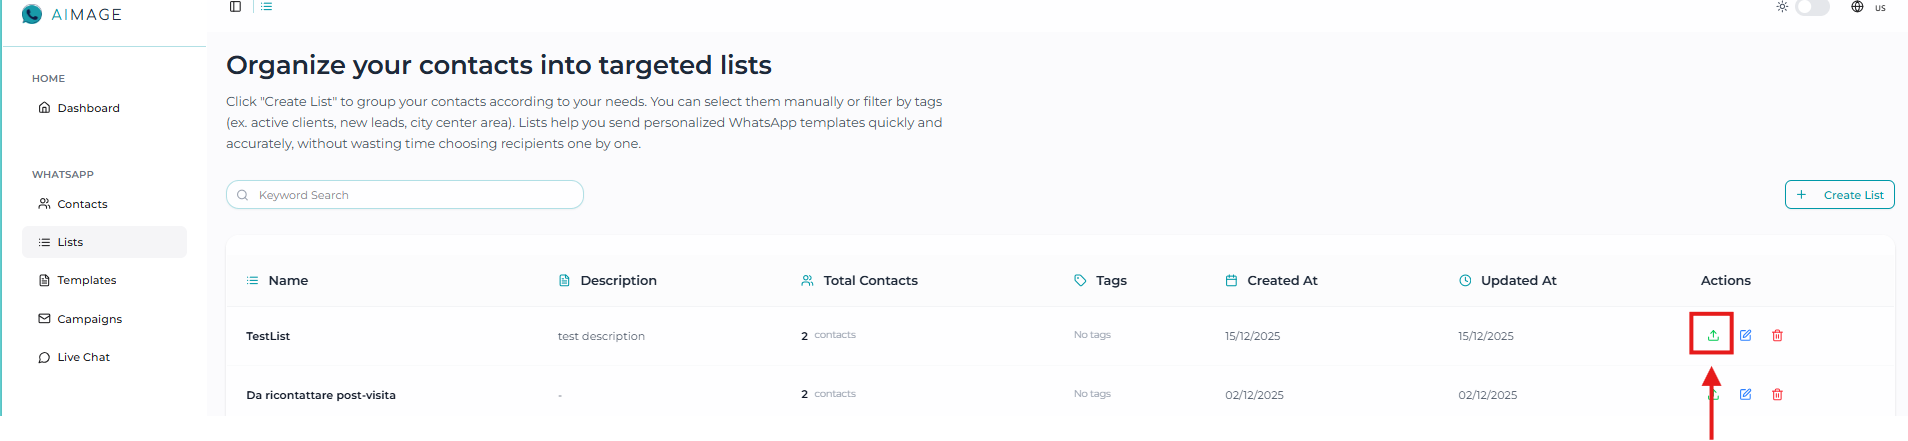
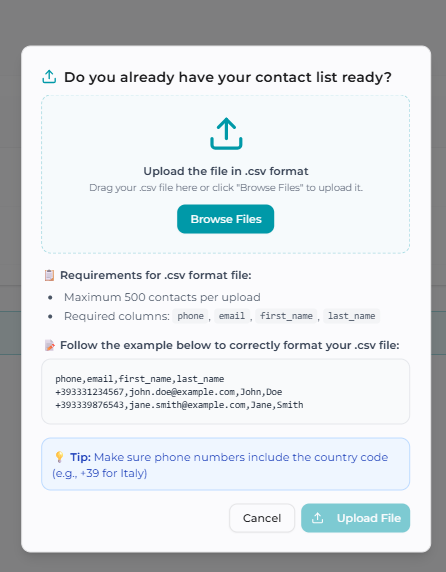
If you have a list of contacts to upload, select the green icon under “Actions” and follow the instructions to upload your .csv file.
4. Creating templates
In the “Templates” section, you can create the messages you want to send to your contacts.
.png)
Once your message is ready, click “Request approval” in the upper-right corner to proceed.
.png)
5. Creating marketing campaigns
You can now create a campaign to send your messages in an organized way.
.png)
Select the contact list(s) you want to target with your marketing campaign. Choose the date, time, and the template you previously created. Click “Save” to continue.
.png)
6. Conversations
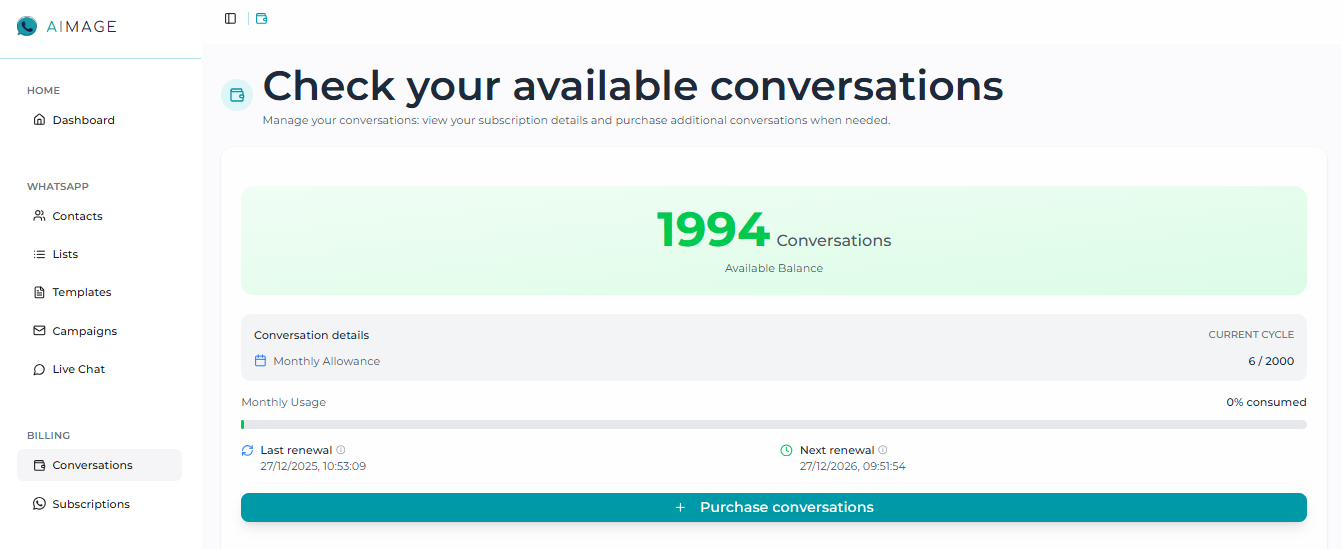
In the “Conversations” section, you can check how many conversations are available based on the subscription plan you selected.
If you have used all your conversations, you can purchase more by clicking “Purchase conversations.”
7. Access to the Process Manager and Template connection
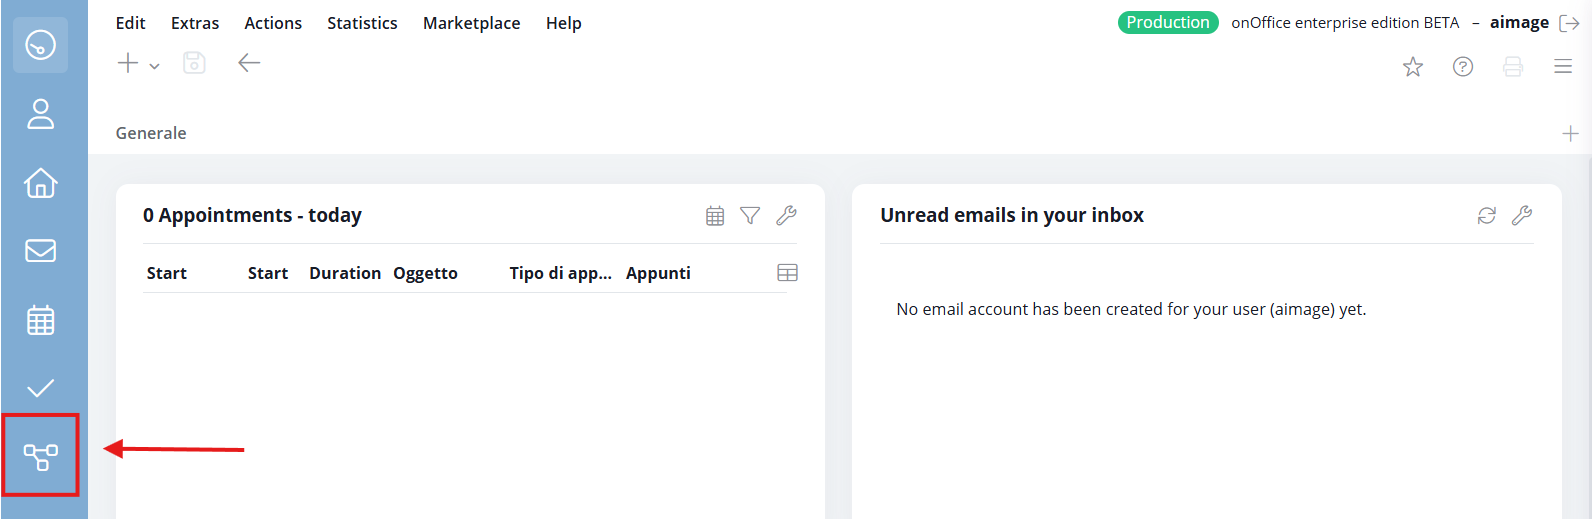
- Go to the onOffice dashboard and click on the “Processes” icon shown in the image:
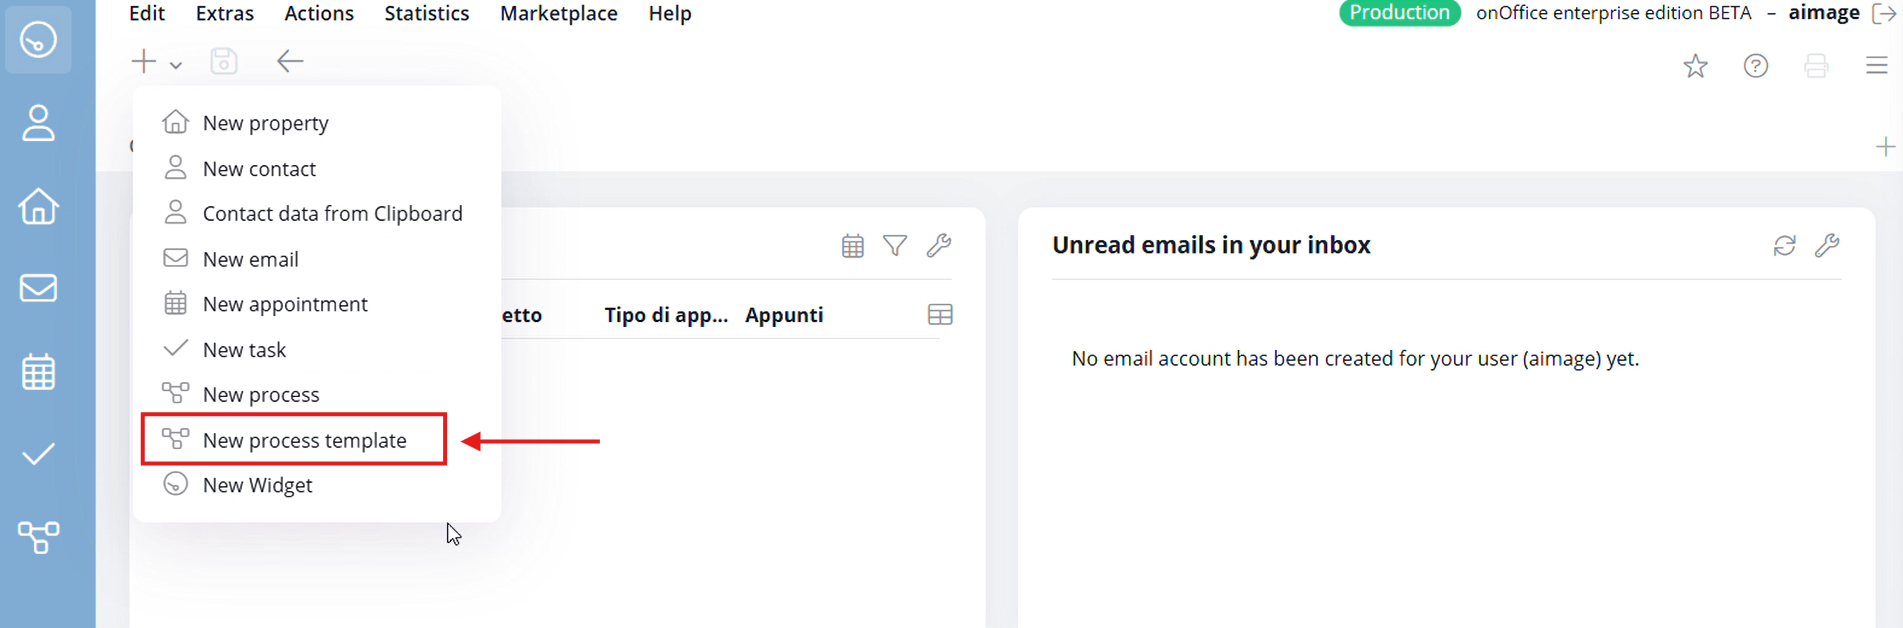
- Click on “New process template” from the dropdown menu:
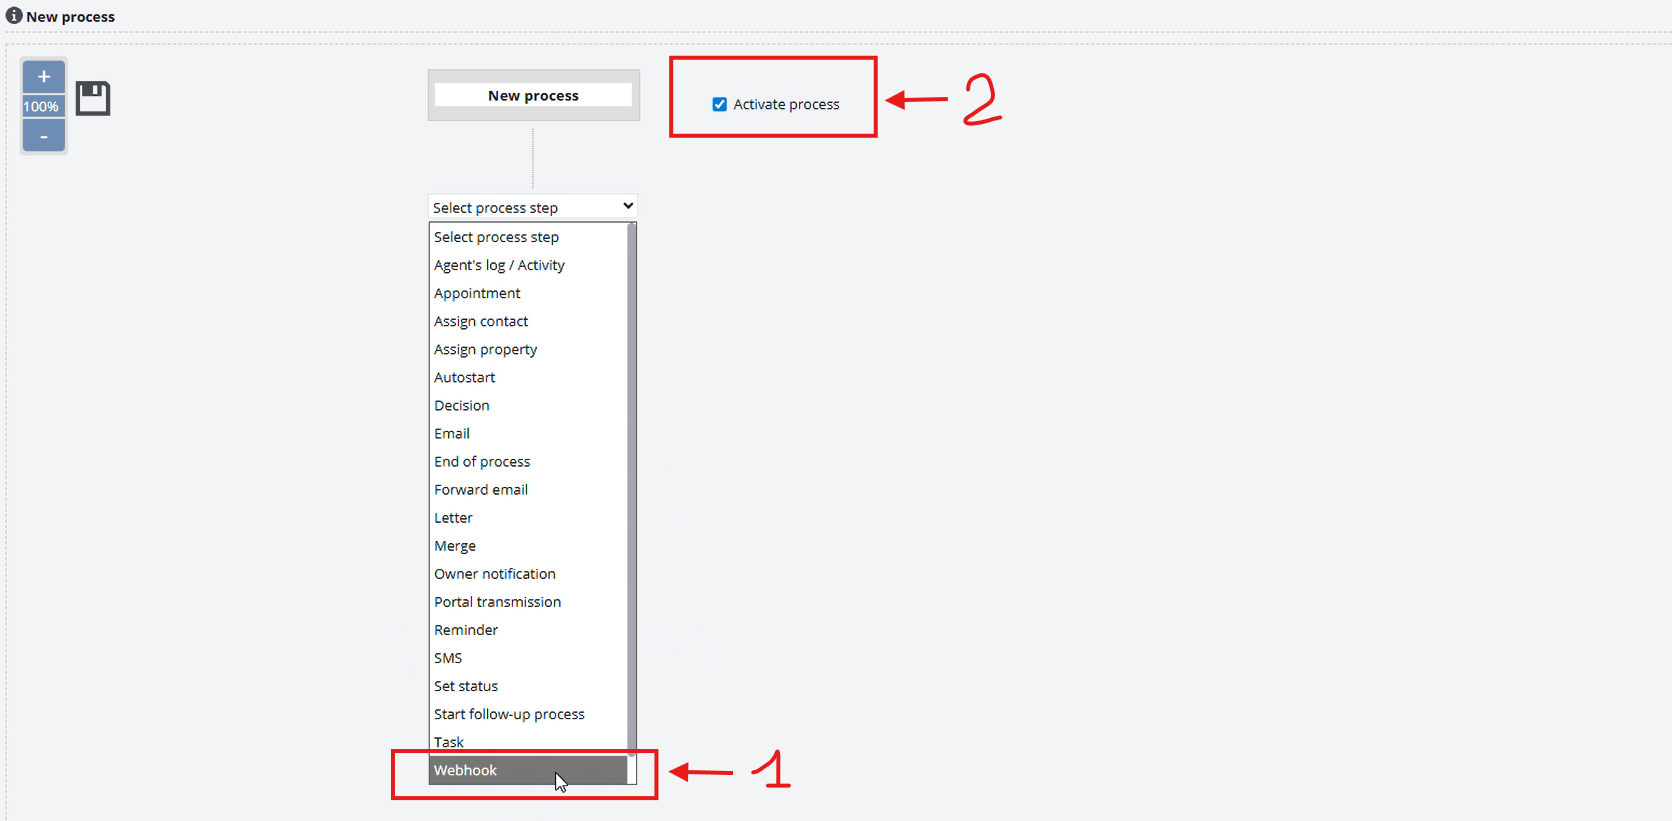
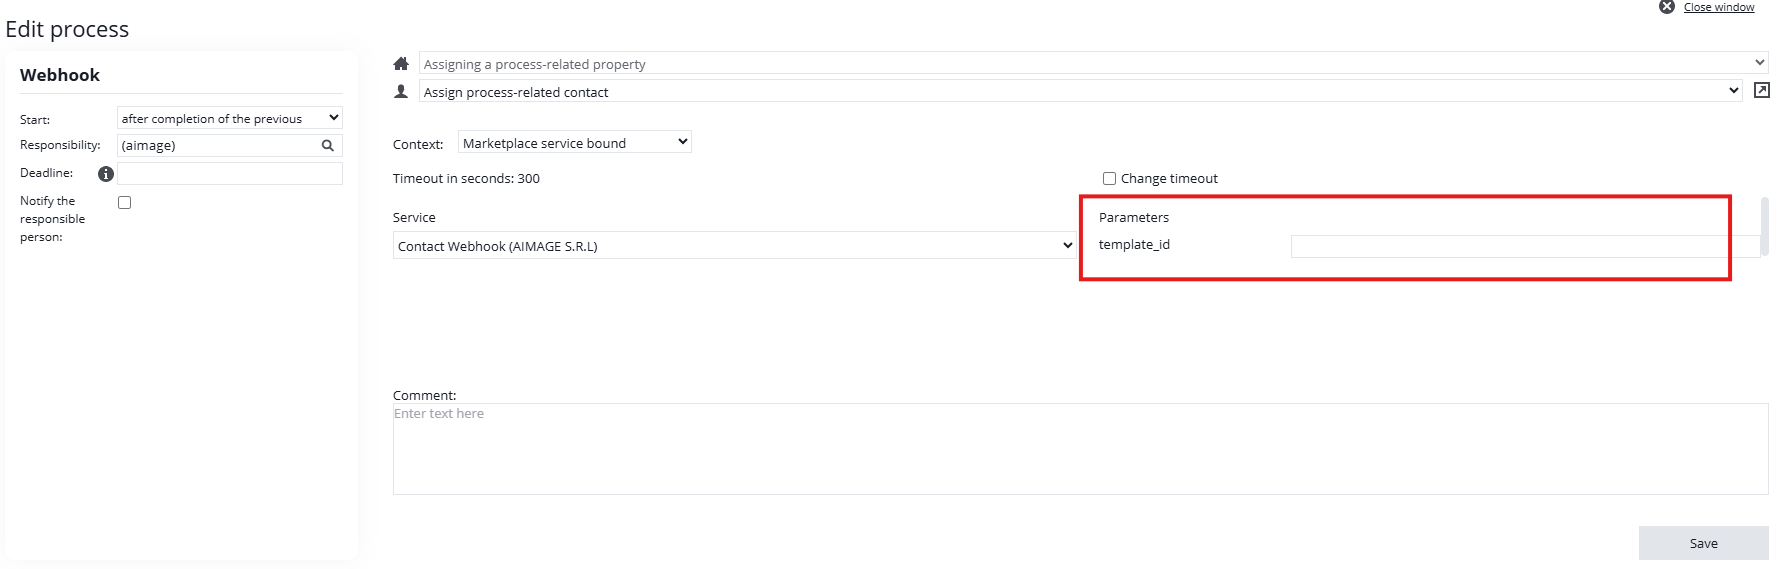
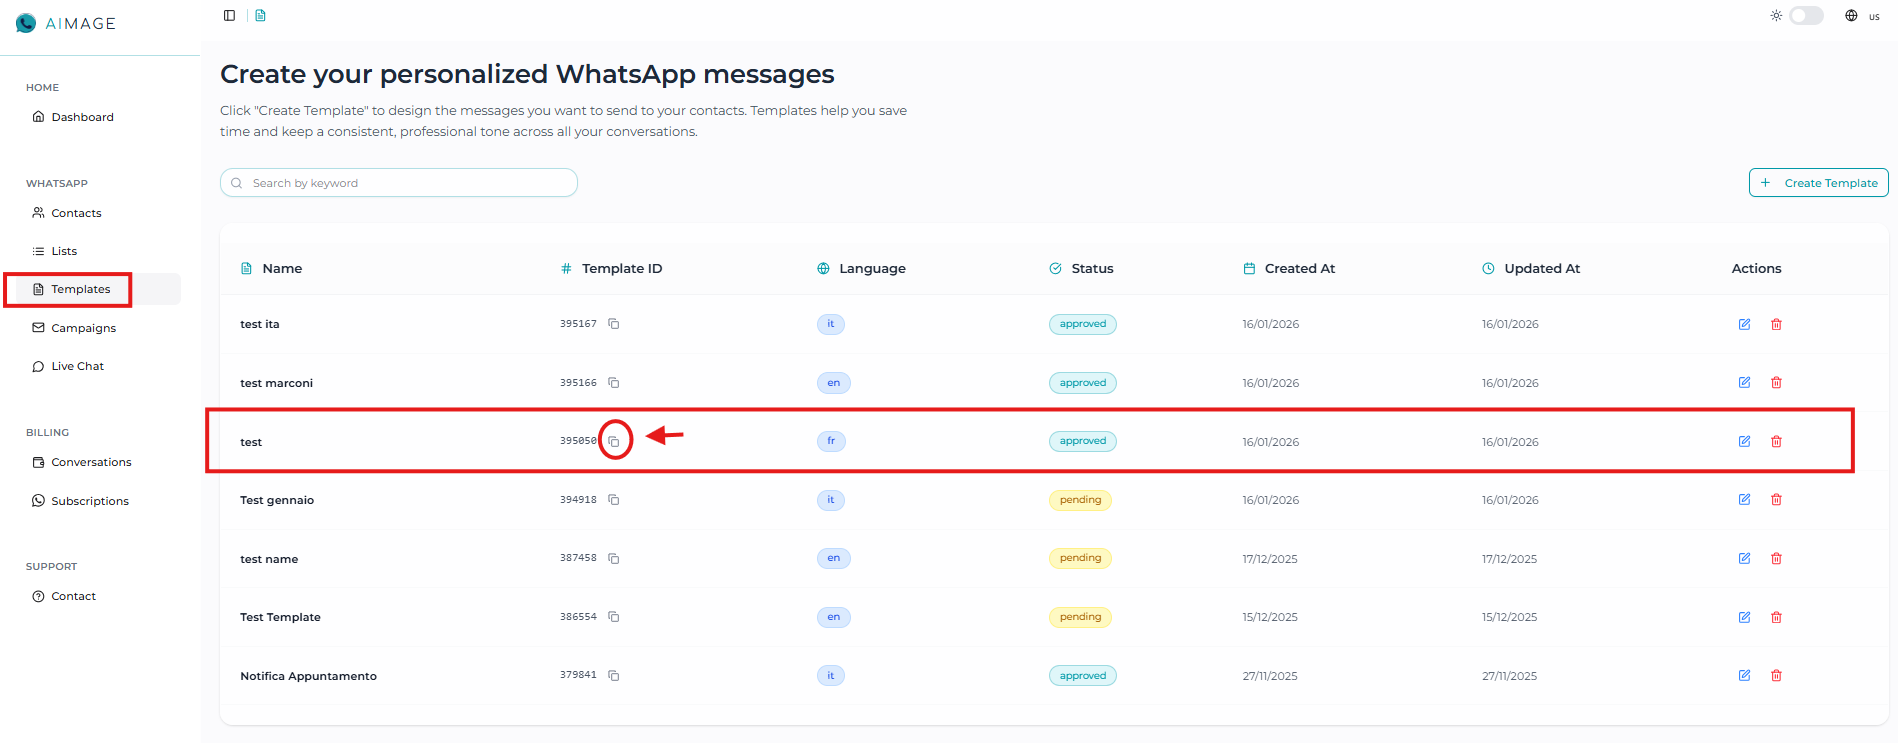
- Select “Webhook“, then go to the Aimage dashboard, find the template you want to connect, and copy and paste the template ID into the required field (Note: the selected template must be approved). You can then check the box “Activate process”.
- To activate the process, select “New process” from the menu:
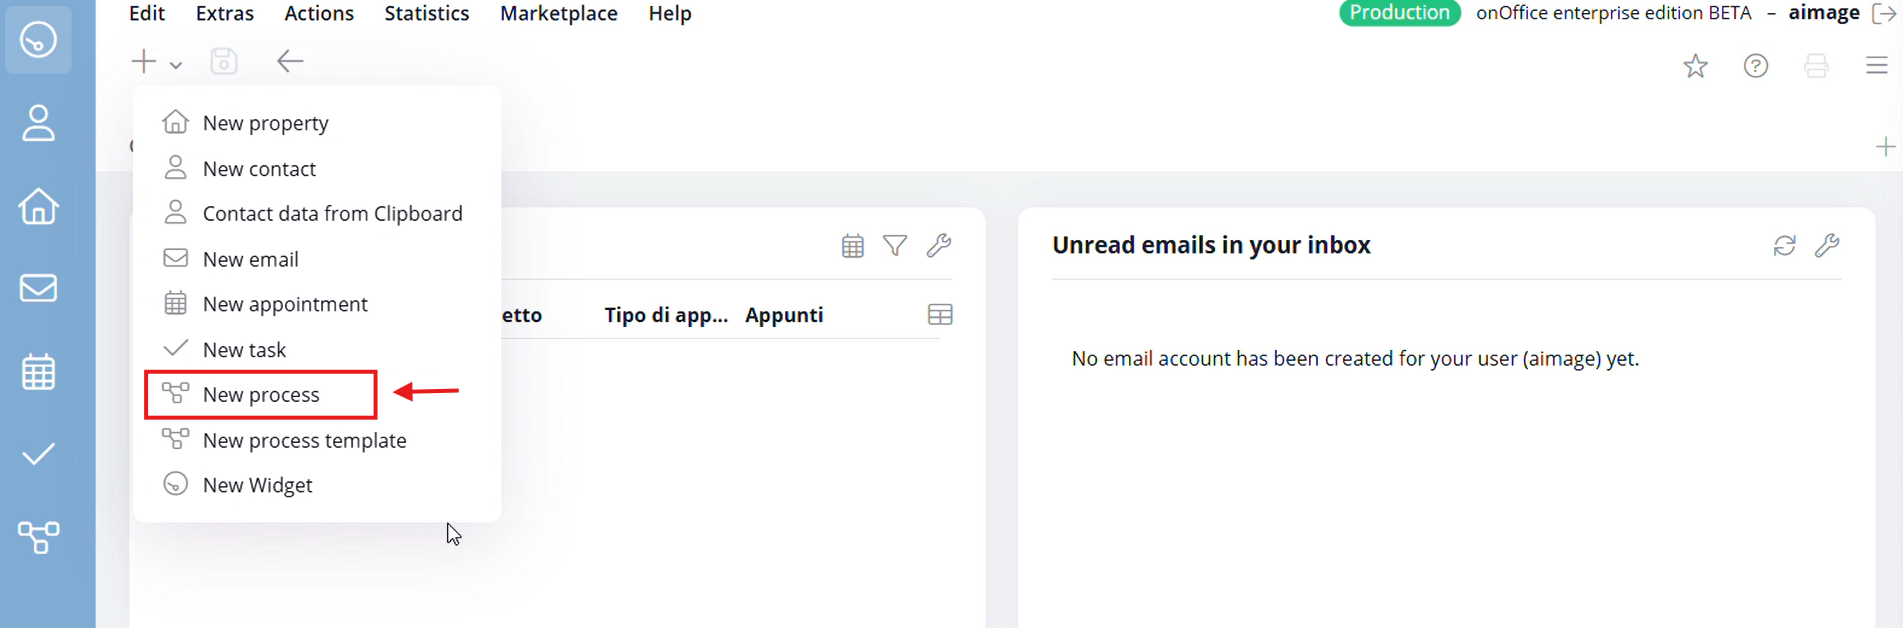
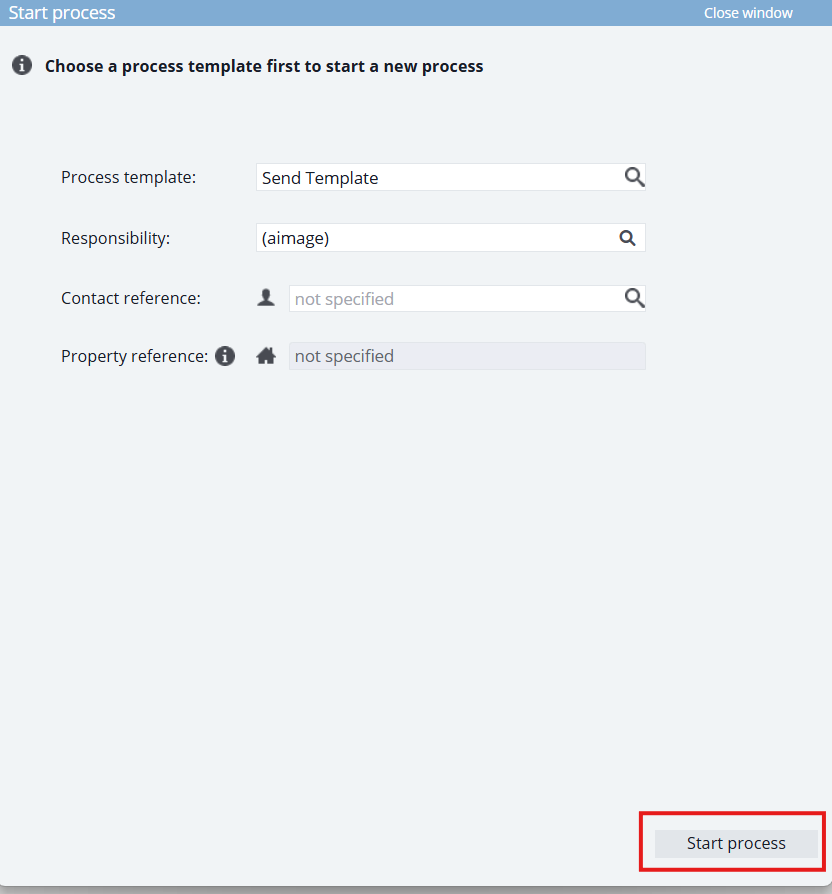
- Enter the required information and click on “Start process” to send the templates.