Entry
Entry Dashboard
 Contacts
 Properties
 Email
Email Calendar
 Tasks
Tasks Acquisition Cockpit
 Audit-proof mail archiving
 Automatic brochure dispatch
 Billing
 Groups
 Intranet
 Marketing Box
 Multi Property module
 Multilingual Module
 onOffice sync
 Presentation PDFs
 Process manager
 Project Management
 Property value analyses
 Enquiry Manager
 Showcase TV
 Smart site 2.0
 Statistic Tab
 Statistics toolbox
 Success Cockpit
 Time Tracking
 Address from clipboard
 Text block
 Customer communication
 External Tools
 Favorite links
 Calculating with formulas
 Mass update
 onOffice-MLS
 Portals
 Property import
 Quick Access
 Settings
 Templates
 Step by step
You are here: Home / Tutorials / Step by step / General instructions / Create email signature

Step by step
Create email signature
The email signature is user-dependent and is managed in the settings of the individual user. If you are not an administrator, you can only edit your own signature if the User administration administrative right is active.
Open the user administration via .
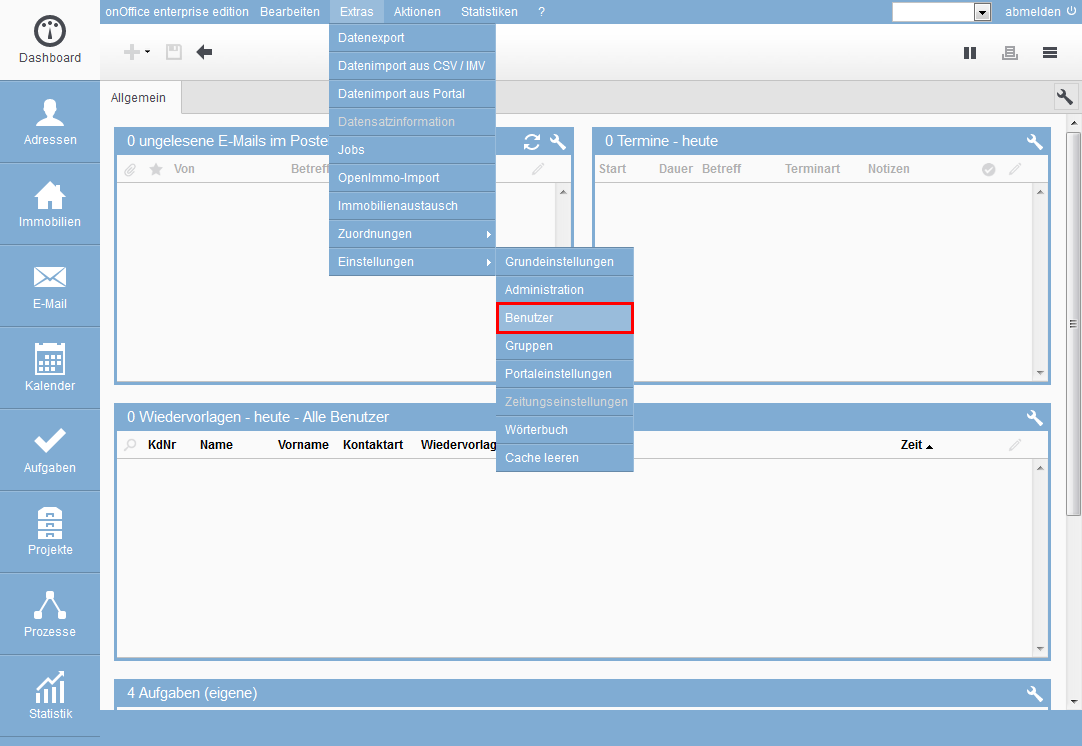
Here you select the user to be edited or their settings.
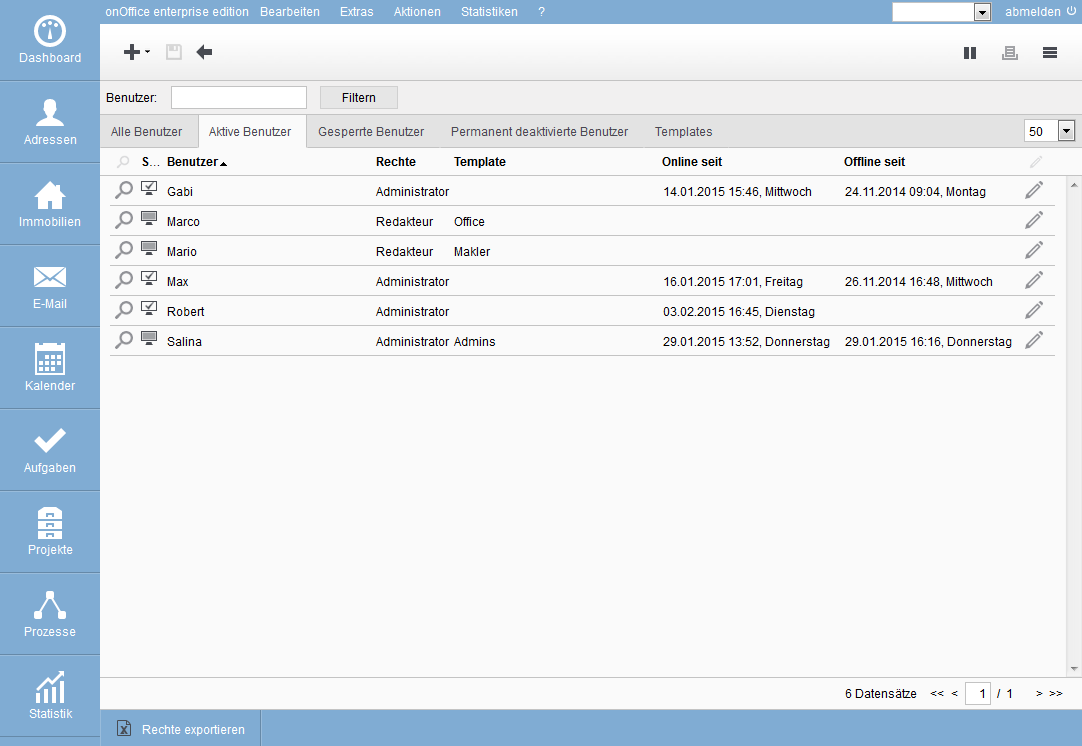
Open the “Email” tab in the user.
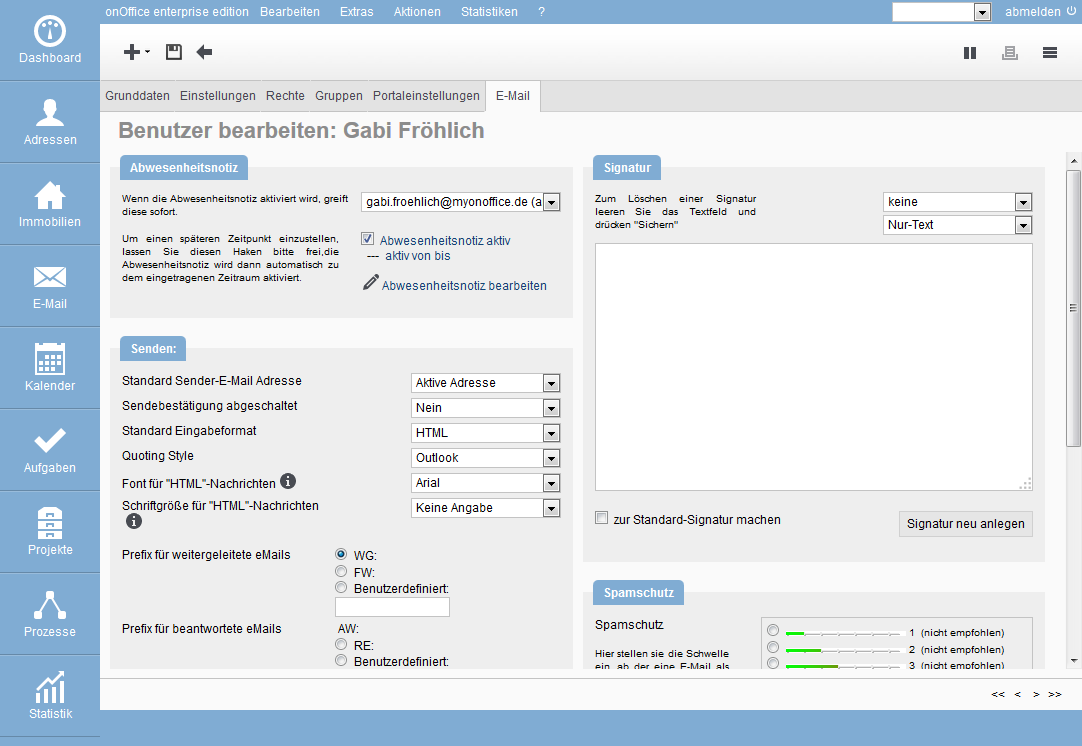
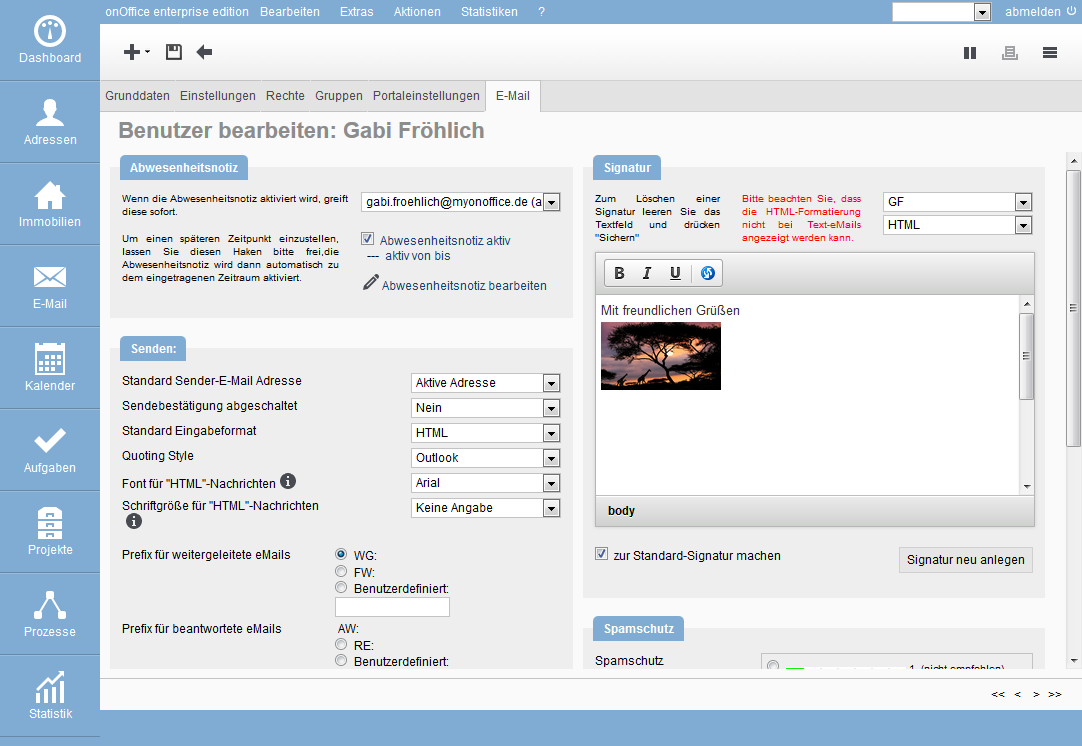
The default signature is suggested by the system when writing emails and is also used for some automated processes. A new signature is created with ‘Create new signature’.
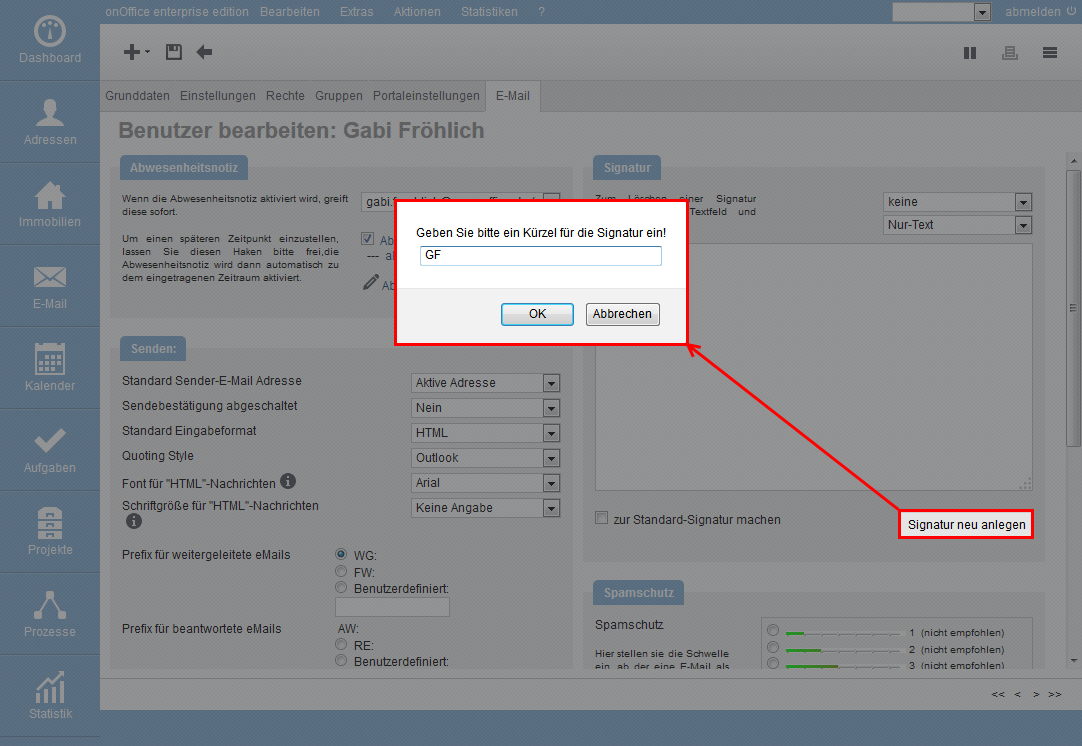
Please assign an abbreviation for this signature, then check the box ‘Make as standard signature’ and select ‘HTML’ as the format.
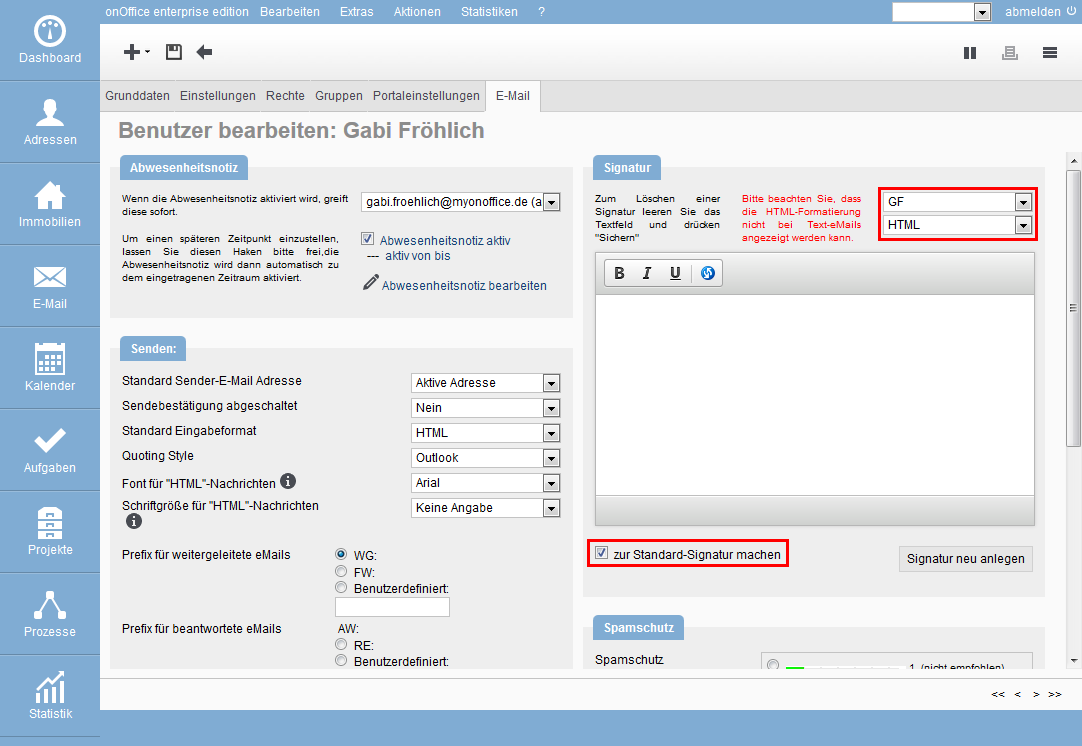
You can enter the content directly in the text field, but it is more convenient if you call up the editor. To do this, click on the symbol ![]() . A detailed explanation of the editor can be found in the online help.
. A detailed explanation of the editor can be found in the online help.
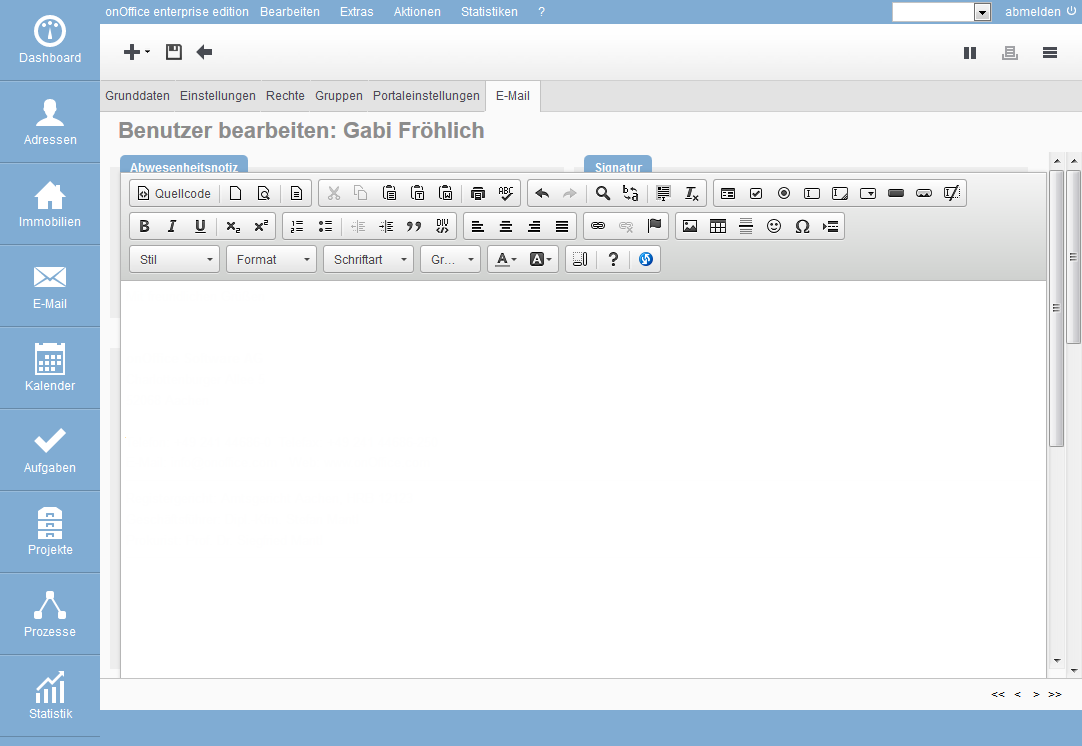
It is best to specify a font and font size before entering the text. These settings can also be adjusted retrospectively.
You can type in the text or copy and paste an existing signature.
Please note: Even if images or similar are displayed at the beginning, these elements cannot be inserted by copying, they must be inserted afterwards.
Inhaltsverzeichnis
Font and font size
If you do not specify a font, the program decides which font is used for display by the email recipient. This font can be very different from the text of the email.
For this reason, you should always specify a font, preferably the one used for the text of the emails. If you use the onOffice sample templates, the font Arial is selected.
Many programs, e.g. browsers, often use Arial, Helvetica, Verdana or similar for fonts. It is therefore sufficient if you select a font that is as similar as possible, it does not have to be the exact one.
As in Office, select the text and then choose the appropriate font from the menu.
Colors and graphic elements
You can carry out further formatting; the individual menu items are explained in the online help . You also have the option of integrating signatures using macros.
Insert link to homepage
You can also add a link to your website or email address. To do this, select the text that you want to use as a link and select “Insert link” ![]() .
.

In this dialog, enter the address of your website under URL.
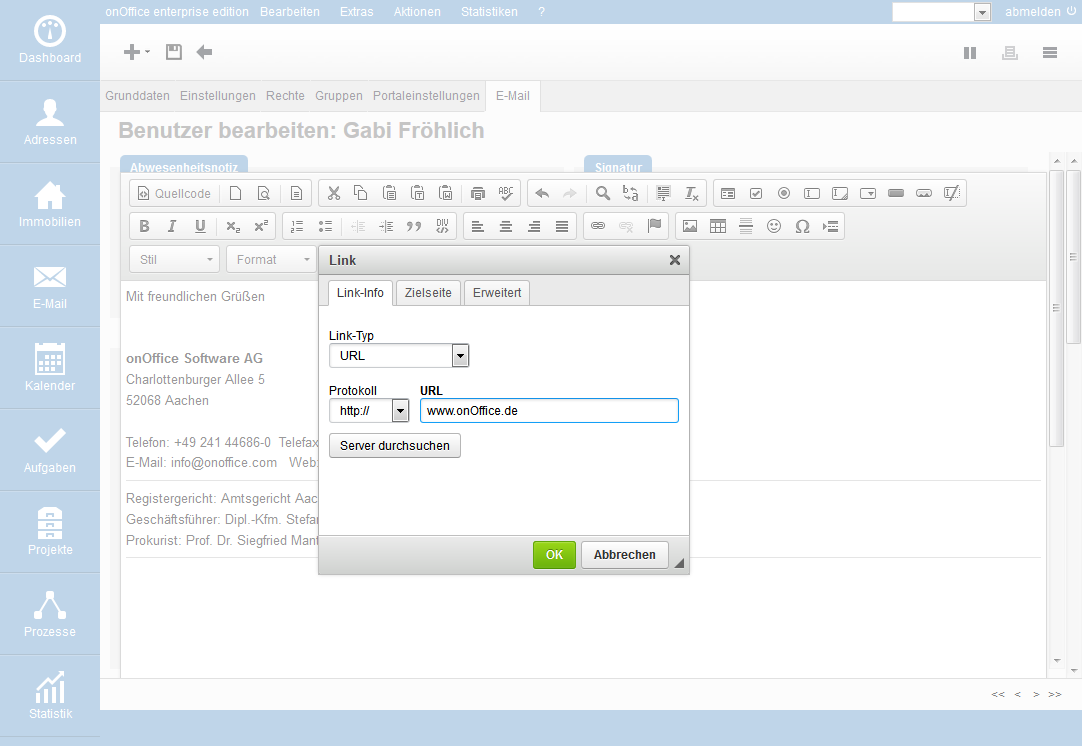
Or in the case of the email reply, please adjust the link type and enter the email address.

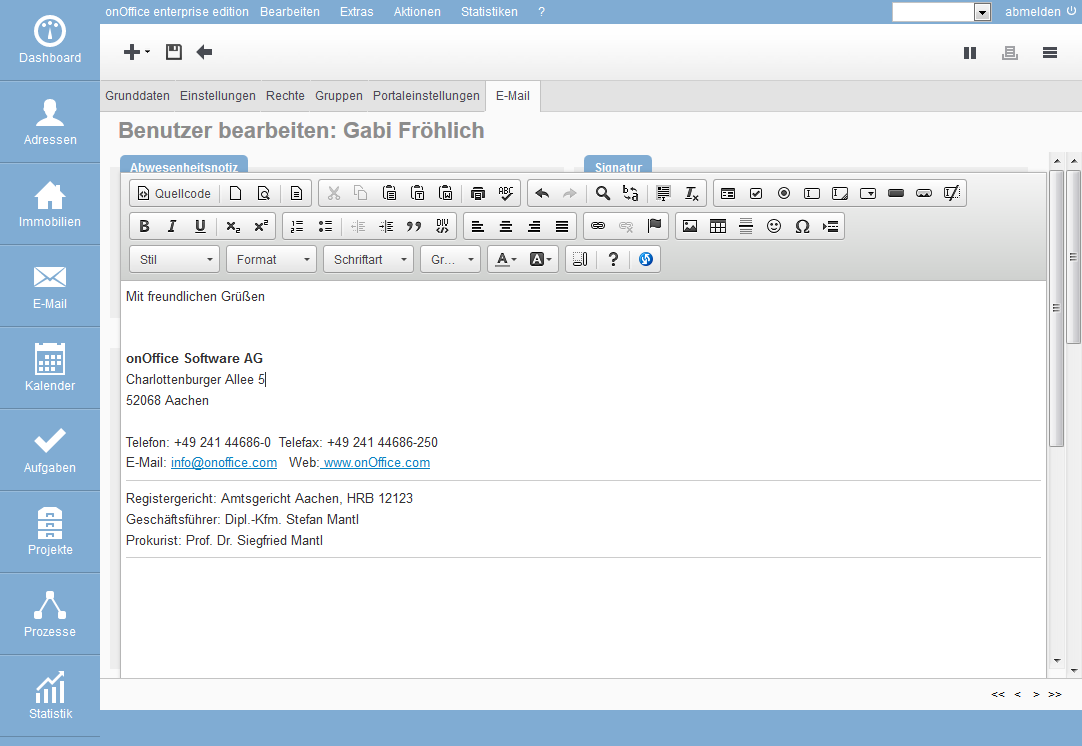
Here is the result:
Integrate logo
Prepare picture:
Unfortunately, some email programs such as Outlook do not display images in emails as large as specified, but in their original size. Therefore, the image must be brought to the correct resolution with an image editing program before uploading. The width of a passport photo should be about 85 pixels. For a business card ‘over the whole page’ about 650 pixels.
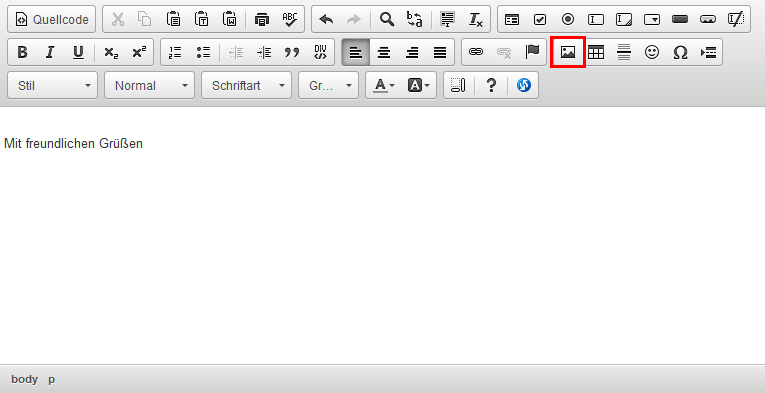
To do this, place the cursor at the position where the image is to be inserted and start the image wizard by clicking on ![]() .
.
The image cannot be inserted directly from your computer, it must be stored on the onOffice server. Click on Search server to display the stored images.
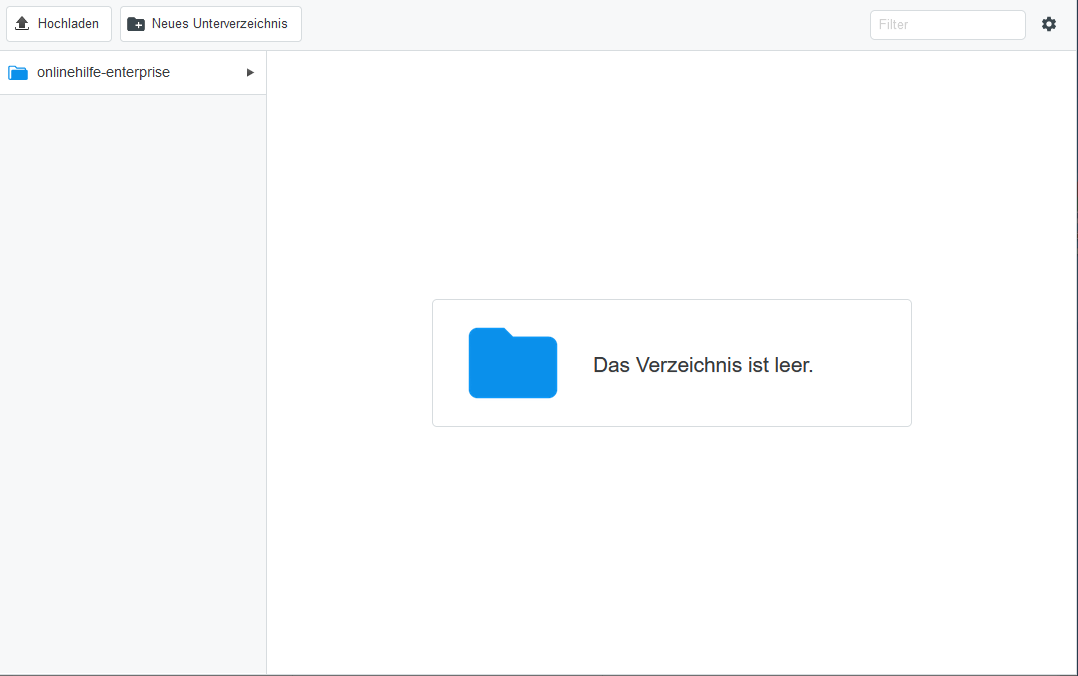
At the beginning there is no picture saved and you have to upload it. Click on Upload at the top left and select the desired file / files on your computer. Please make sure that you upload the image in the size in which you want to use it.
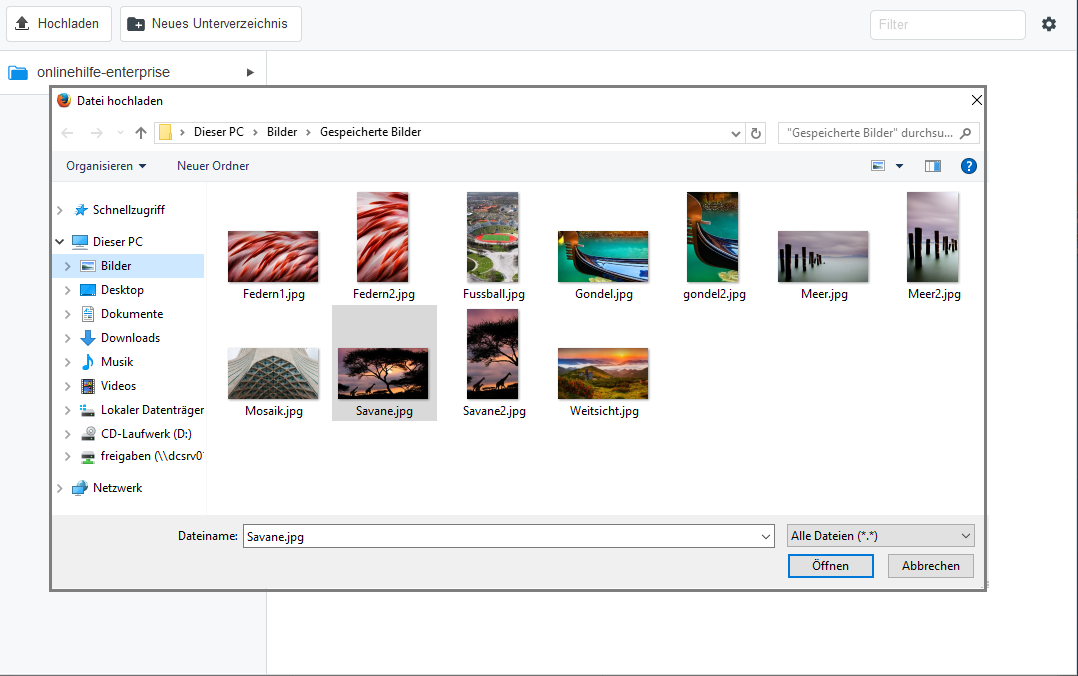
Now you can see the image in the overview of uploaded images.

Click on an image to display further editing options such as Edit, Copy, Move etc. Click on “Select” to apply the selected image to the email signature. Further settings for sorting and displaying the files can be made using the cogwheel at the top right.

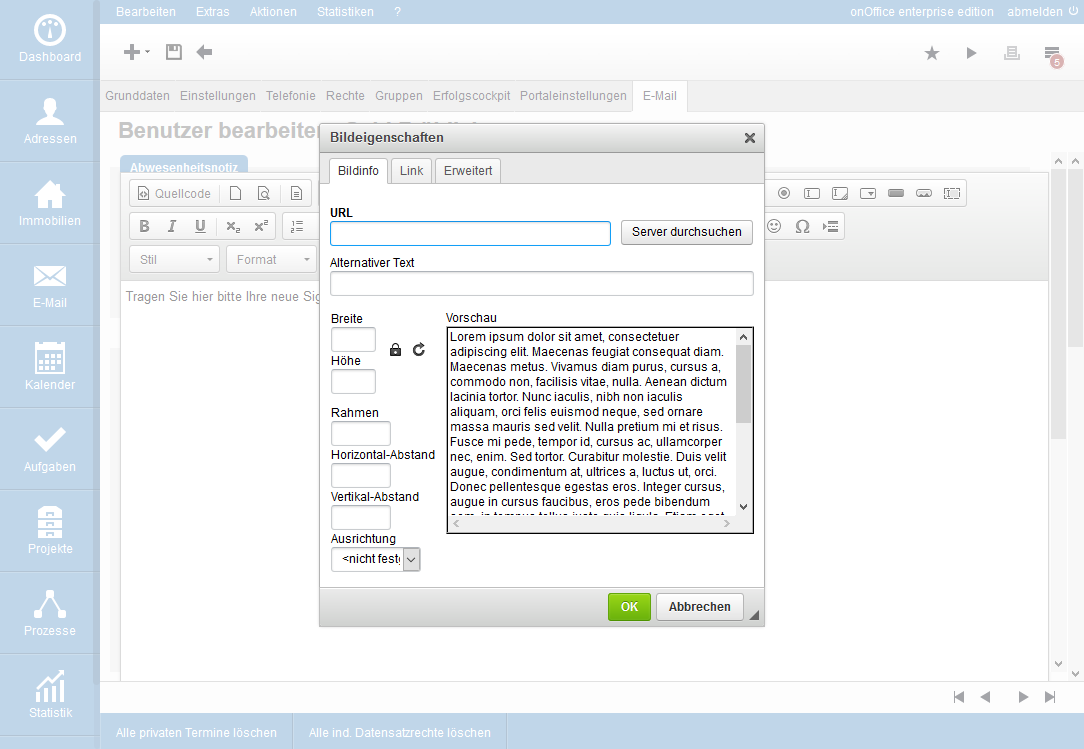
You can make further settings in the dialog for the image properties.
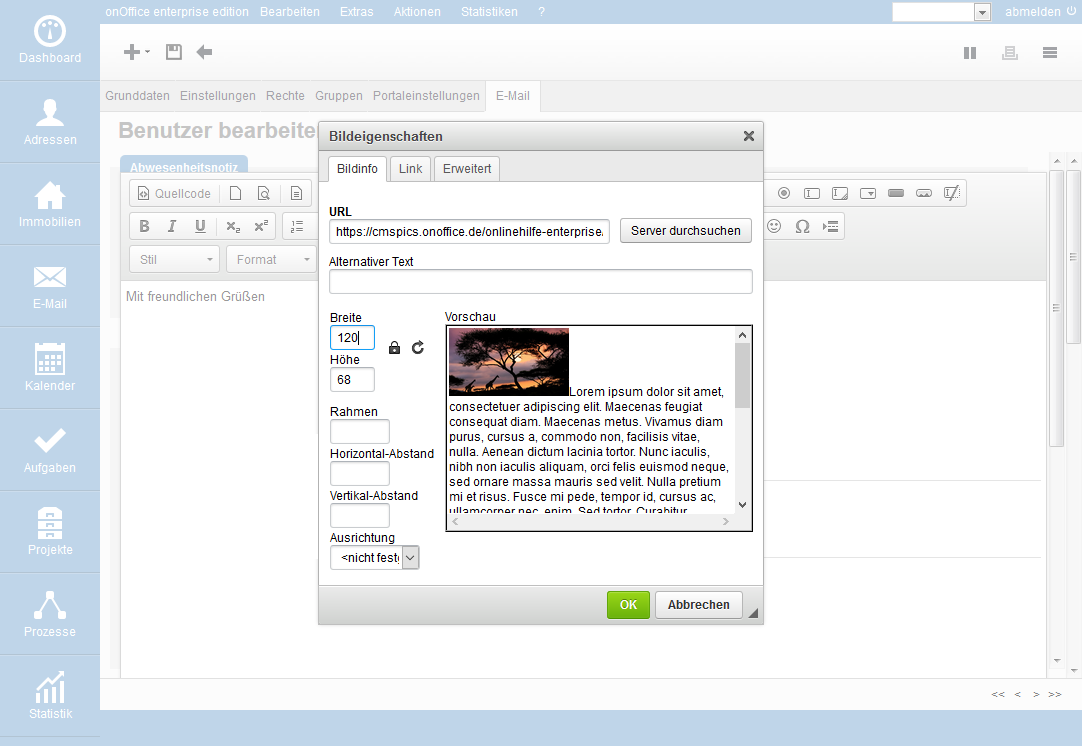
IMPORTANT: If only one image with all contact details is used as a signature, the legally required information should be entered in the Alternative text field. See signature without text.
Apart from the alternative text, no other option is usually required.
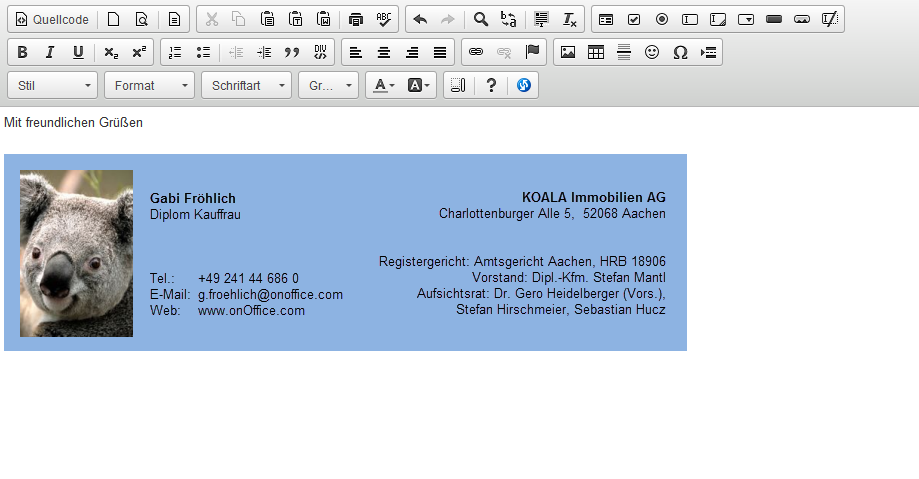
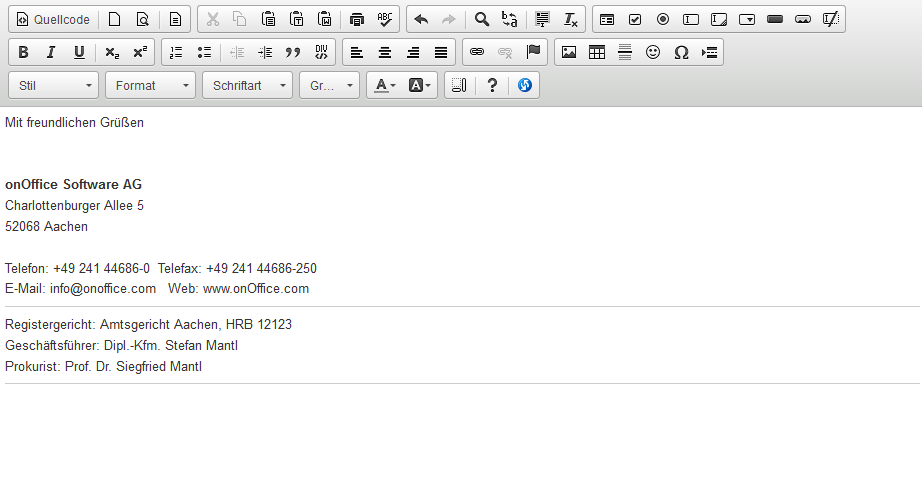
The finished signature will look like this:

Please close the editor again via the symbol ![]() and then save the signature.
and then save the signature.
Please check your signature with a sample email.
Signature without text
Here is an example with a ‘business card’, where a correspondingly larger image is embedded. Go to the place where the image is to be inserted and click on ![]() .
.
In the following dialog, the image is selected via Search server.

Please enter the legally required data under Alternative text.
The finished signature then looks like this, for example: