Entry
Entry Dashboard
 Contacts
 Properties
 Email
Email Calendar
 Tasks
Tasks Acquisition Cockpit
 Audit-proof mail archiving
 Automatic brochure dispatch
 Billing
 Groups
 Intranet
 Marketing Box
 Multi Property module
 Multilingual Module
 onOffice sync
 Presentation PDFs
 Process manager
 Project Management
 Property value analyses
 Enquiry Manager
 Showcase TV
 Smart site 2.0
 Statistic Tab
 Statistics toolbox
 Success Cockpit
 Time Tracking
 Address from clipboard
 Text block
 Customer communication
 External Tools
 Favorite links
 Calculating with formulas
 Mass update
 onOffice-MLS
 Portals
 Property import
 Quick Access
 Settings
 Templates
 Step by step
You are here: Home / Additional modules / Process manager / Create process template / steps / Action Decision / Merge

Process manager
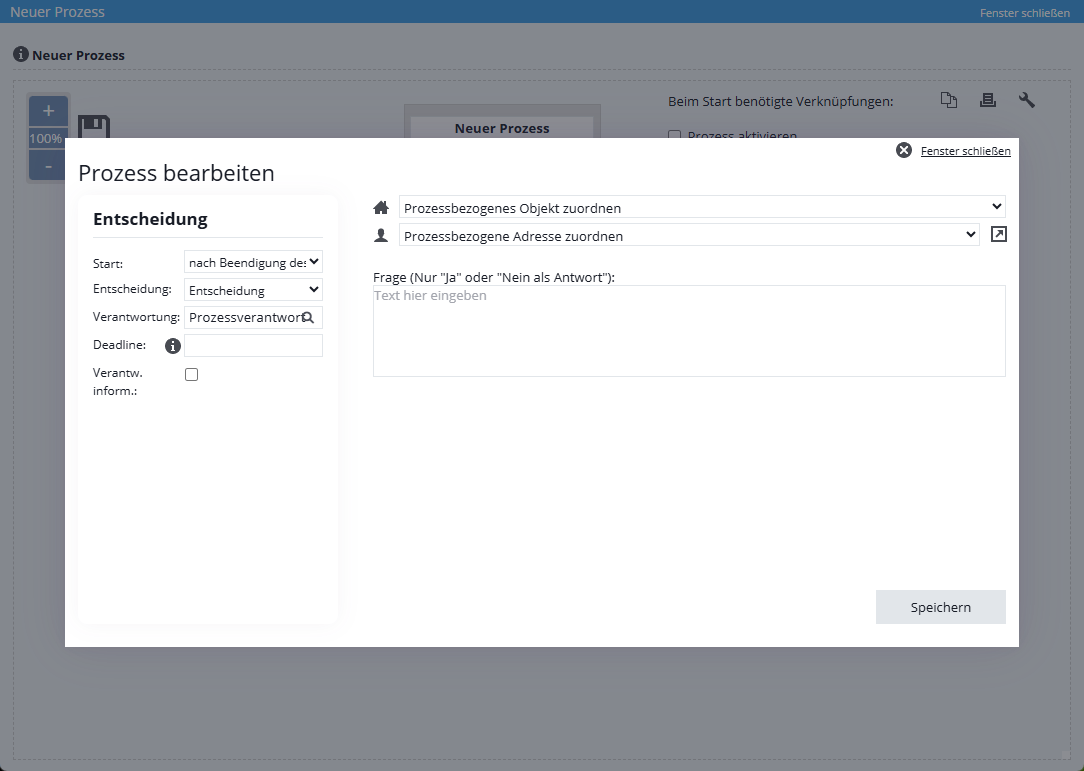
Action Decision / Merge
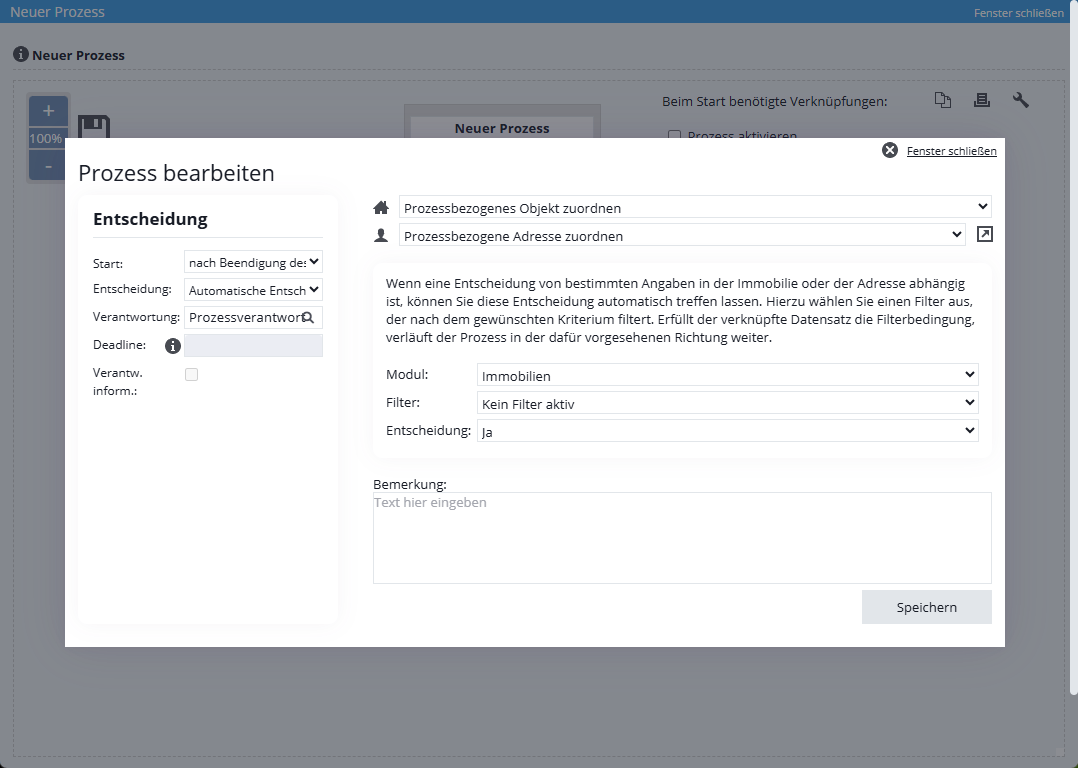
Here you can enter a comment or explanation about the filter. This is displayed in the process step.
The module specifies whether a contact or property filter should be used for the decision. The selection options depend on the existing property or contact assignment of the process. Only one module can be selected for the decision at a time.
Here you specify the filter as the basis for the decision. Filters that check a user or group assignment (example, supervisor is in the “Cologne” group) cannot be selected. Apart from that, any filter available in the modules (contact filter or property filter ) can be used here.
If a contact filter for activities asks for the process-related property, the activities of the contact in the process are checked for the criteria in the filter when the decision is made. If an activity fulfills the requirements and contains the property specified in the process, the process step is answered with yes.

After the filter is selected, it is saved in the process template. Using the trash can icon![]() , the selected filter can be deleted and then another filter can be selected.
, the selected filter can be deleted and then another filter can be selected.
Here you specify whether the fulfillment of the filter condition should go via the “Yes branch” or via the “No branch”.